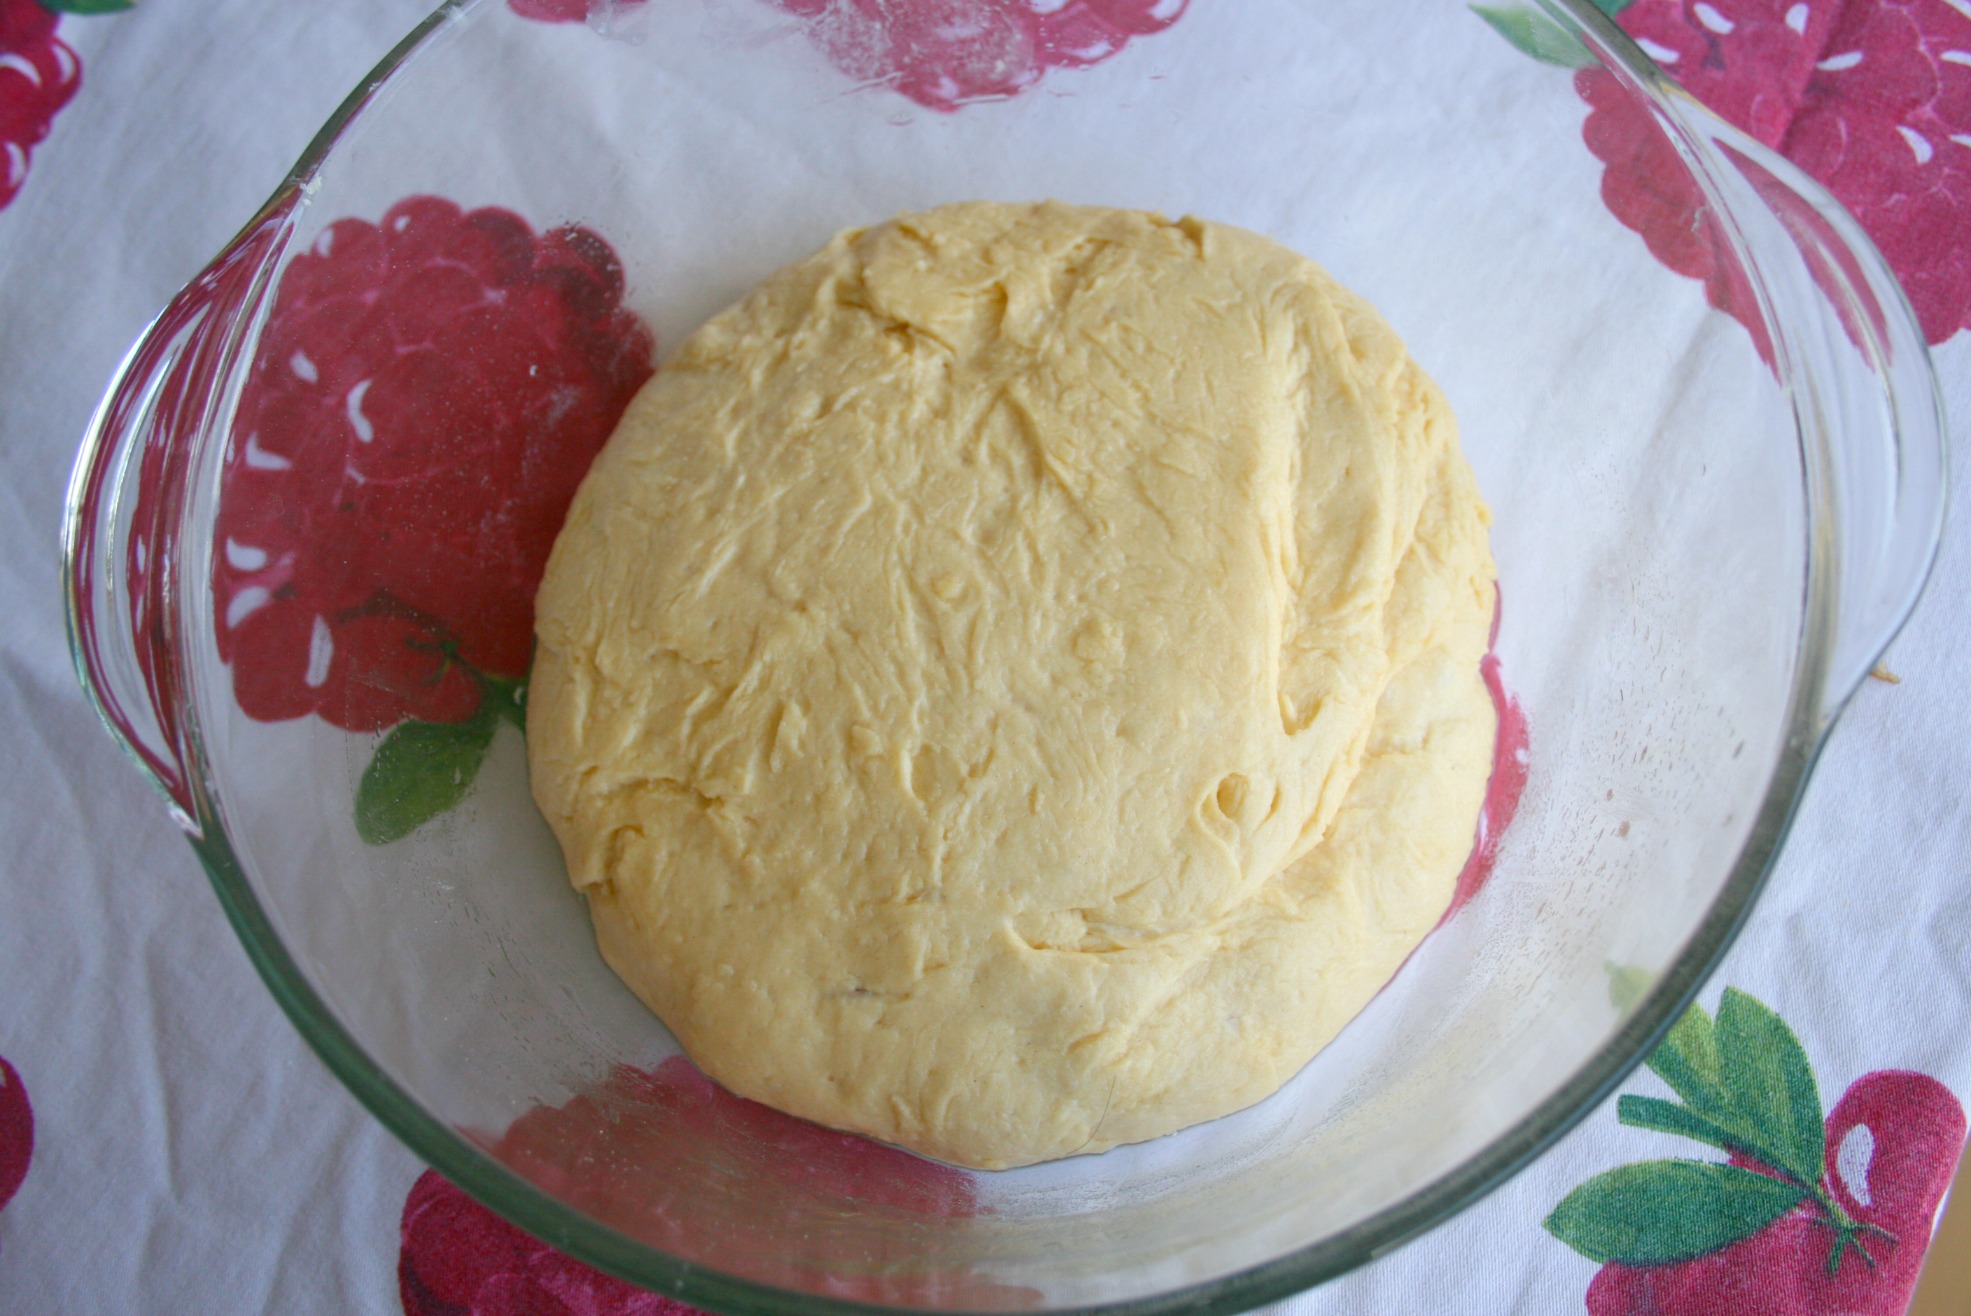
Rolinhos de canela ::: Cinnamon rolls

30.1.14
Gosto muito de canela e o clássico canela e maçã é para mim um dos sabores preferidos. Em tempos fiz um pão doce com canela e em forma de rolinhos e gostei muito do resultado, apenas a massa não estava ainda no ponto. Desta vez estudei várias receitas no blog Joy the Baker e experimentei uma nova versão que resultou muito bem. Estes rolinhos ficam com uma massa mais fina e coloquei bastante recheio que transborda e carameliza os rolinhos e tornando-os ainda mais irresistíveis. Perfeitos para um lanche!

RolosCanela10
Vamos começar?
Massa a levedar
RolosCanela1 
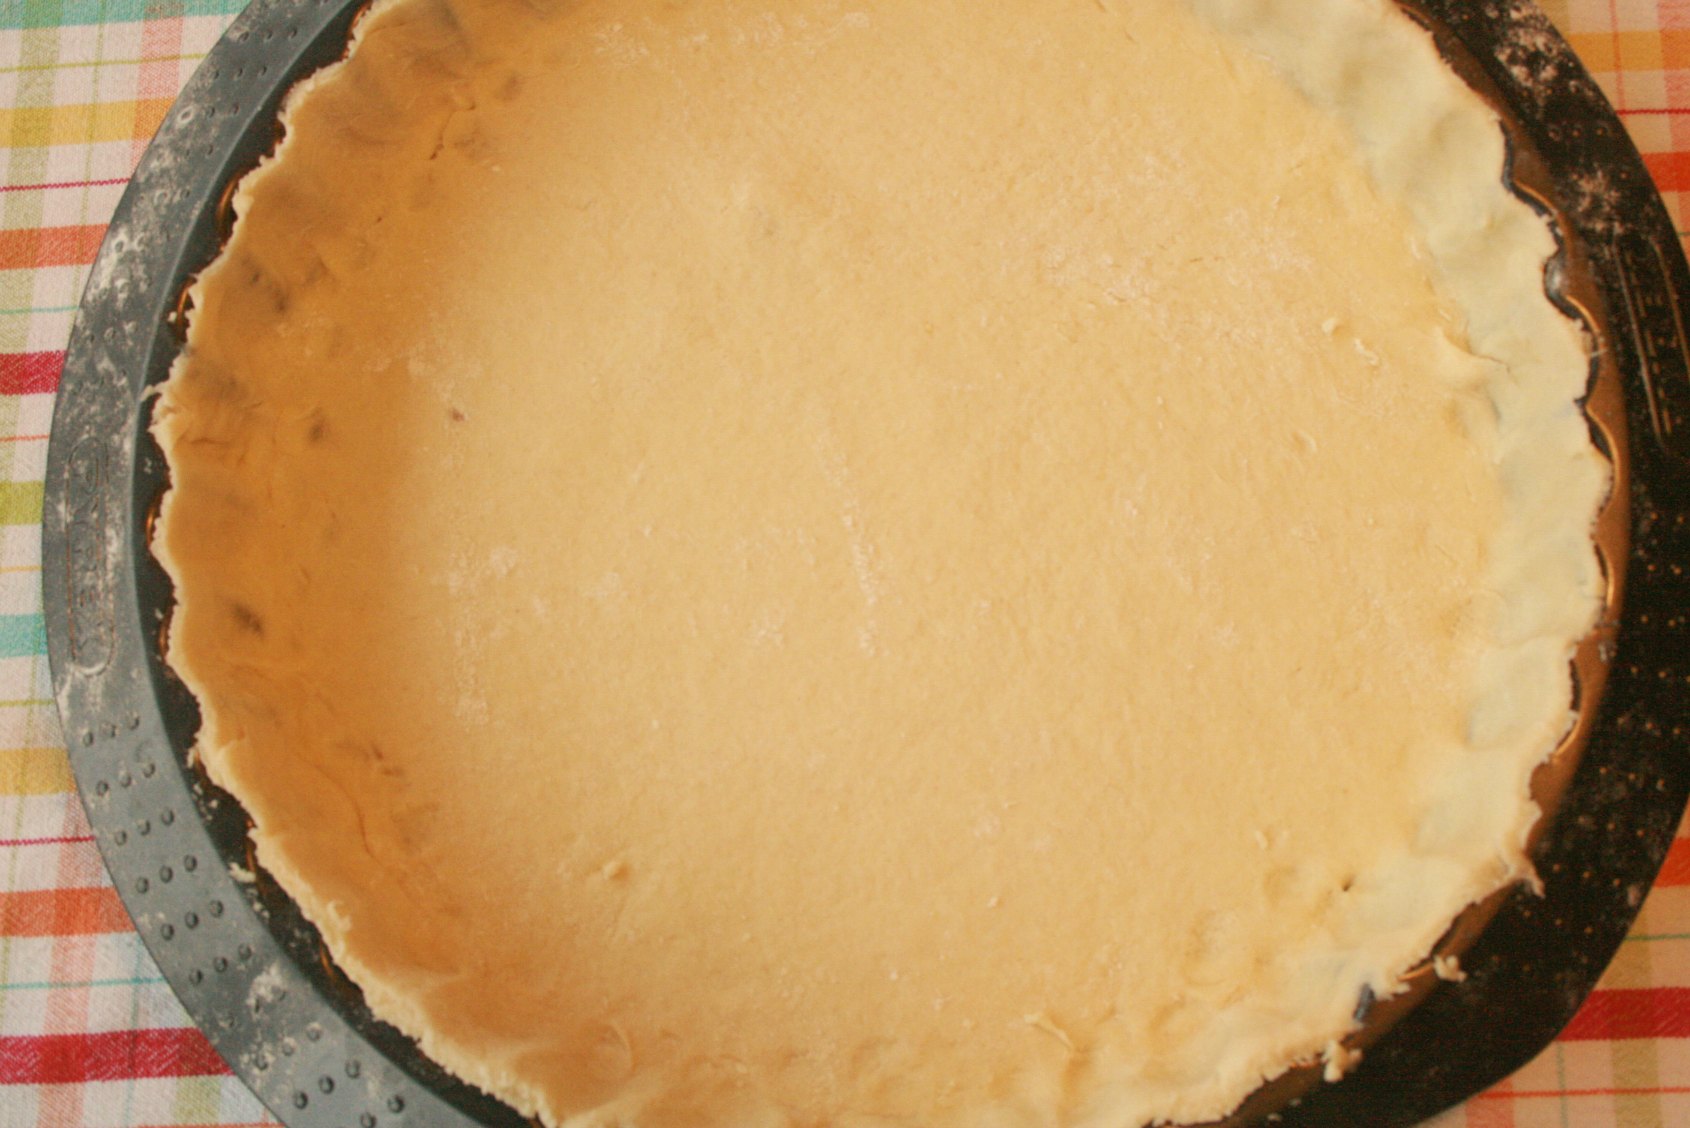
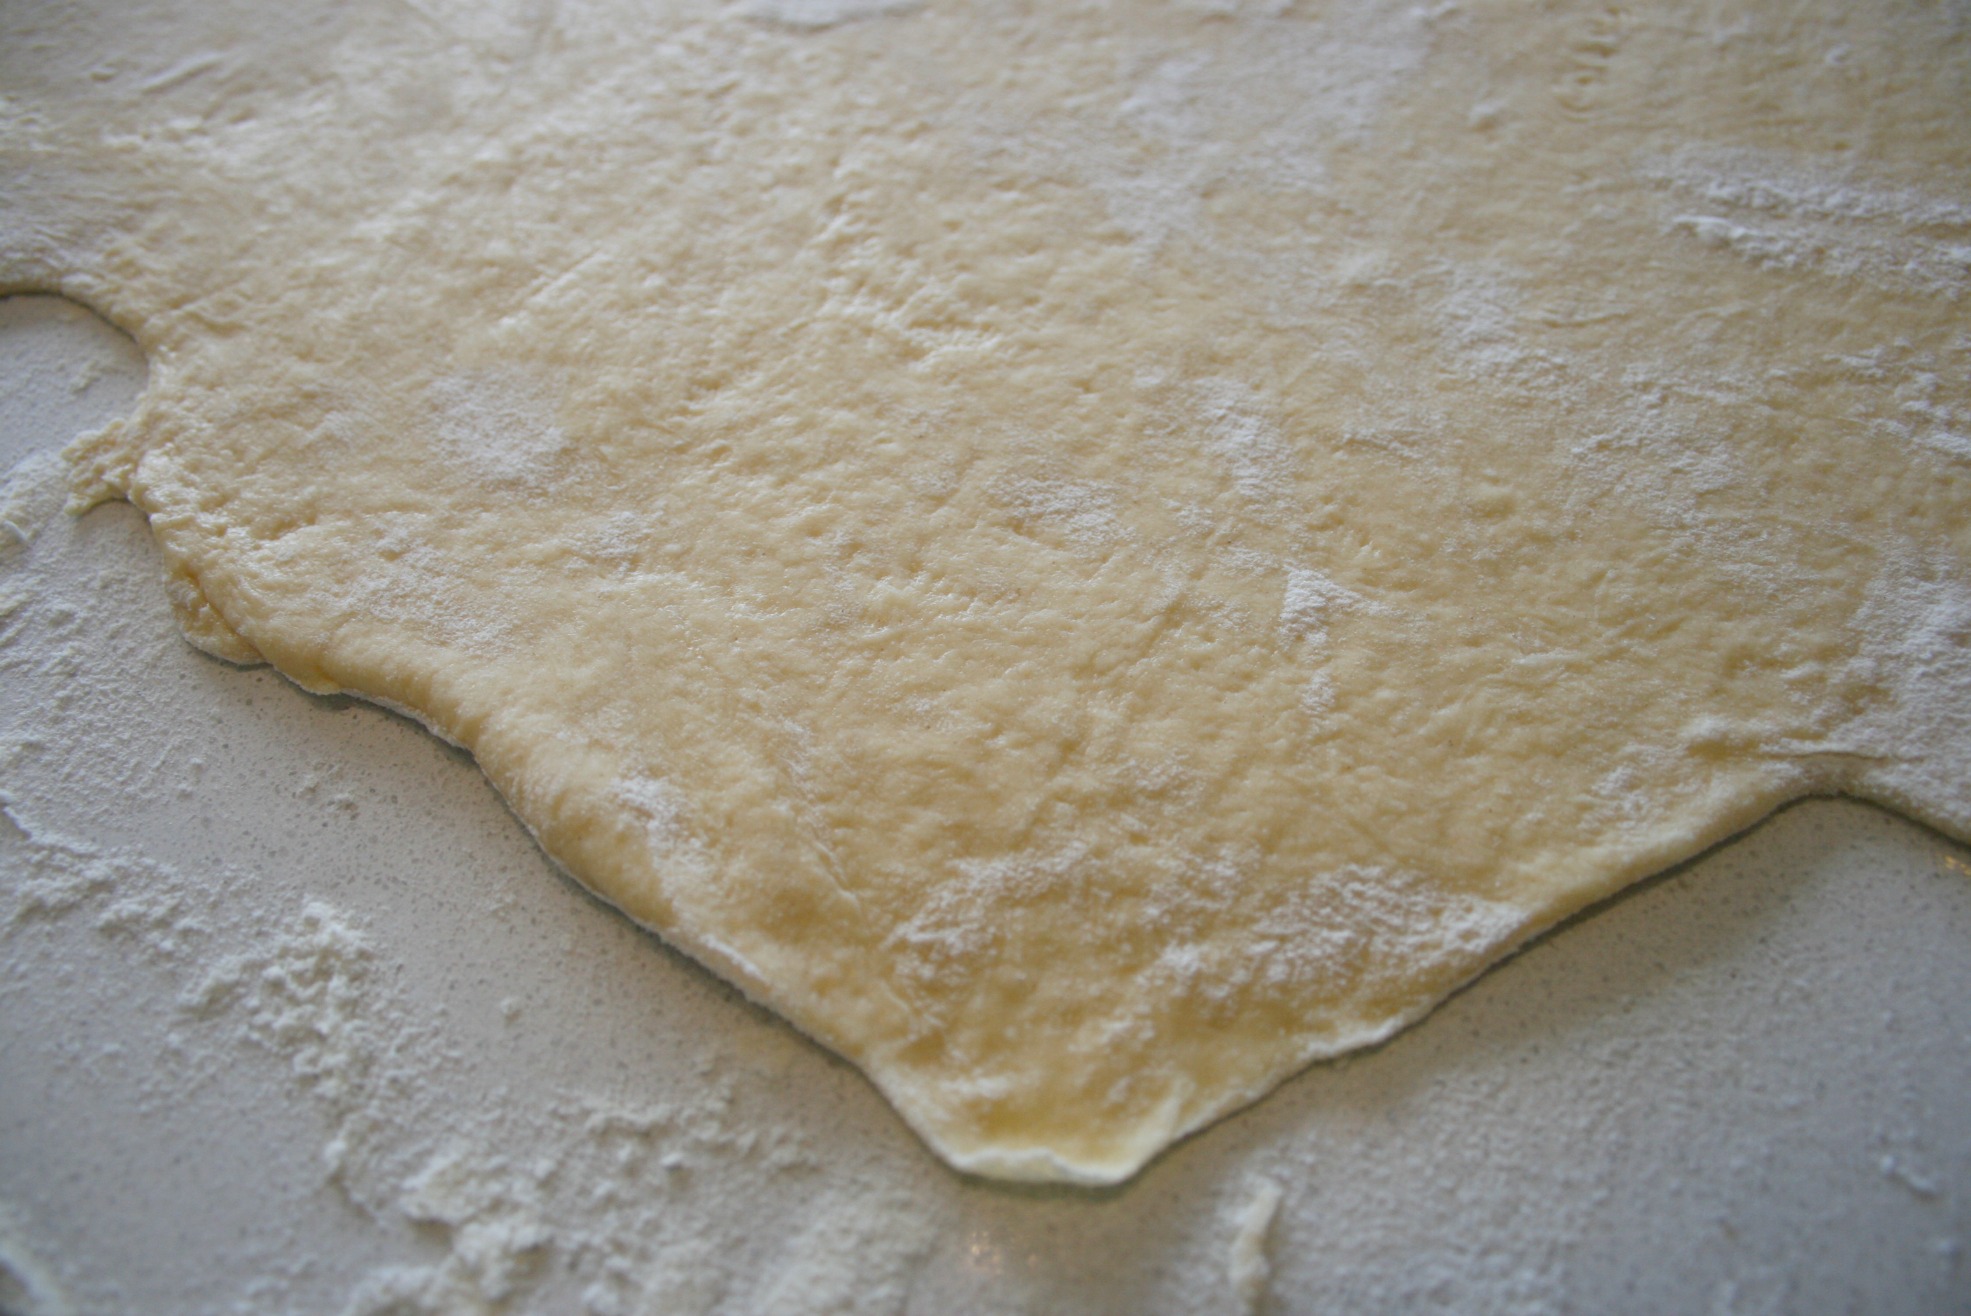
Esticar a massa para formar um rectângulo e ficar bem fina RolosCanela2 
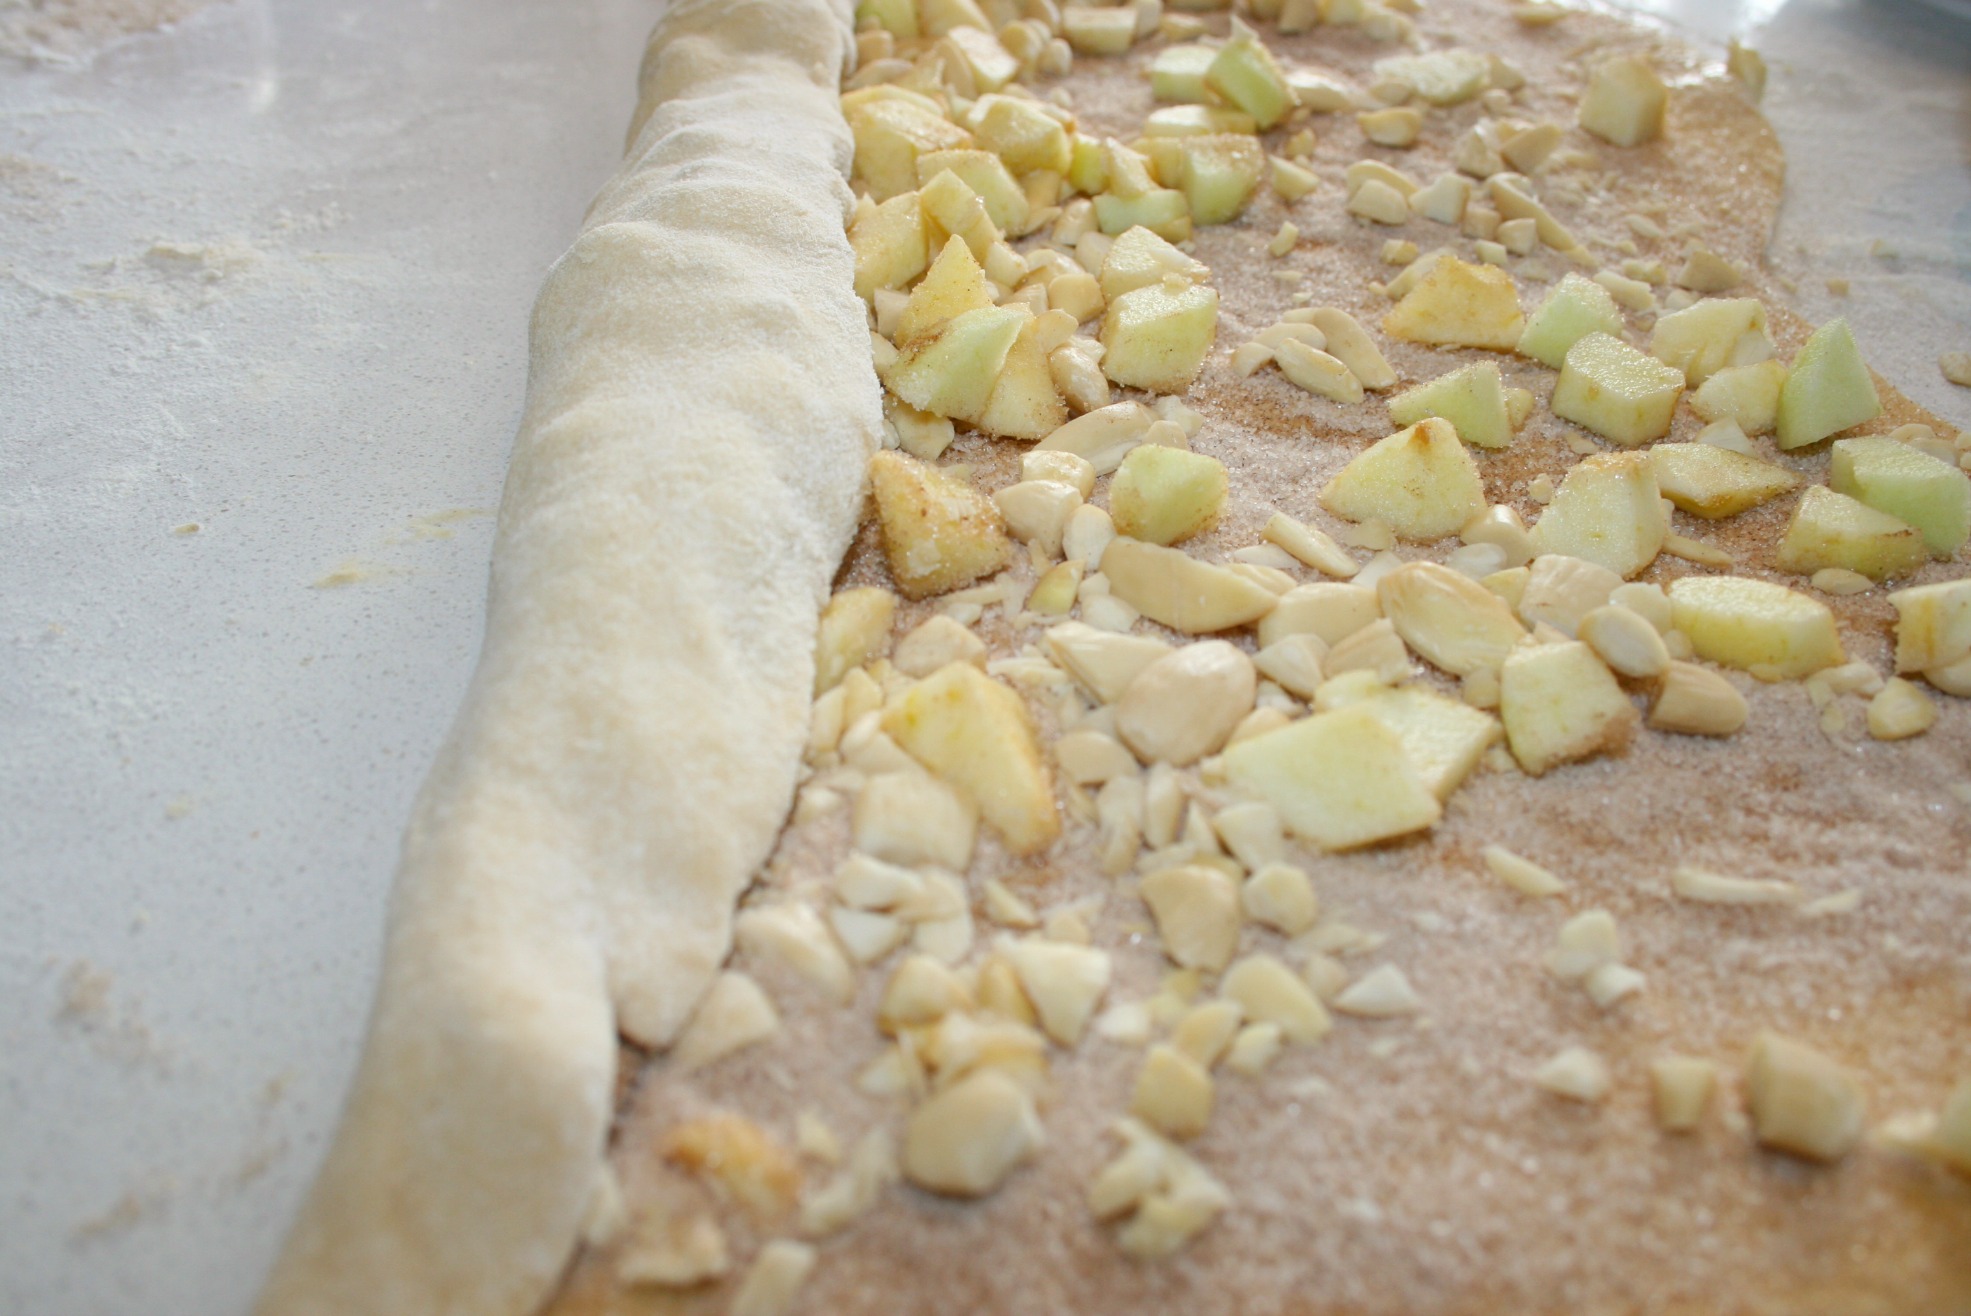
Rechear! Aqui liberdade para escolherem mais alguns ingredientes ou se forem muito gulosos colocar mais açúcar ainda! RolosCanela3 
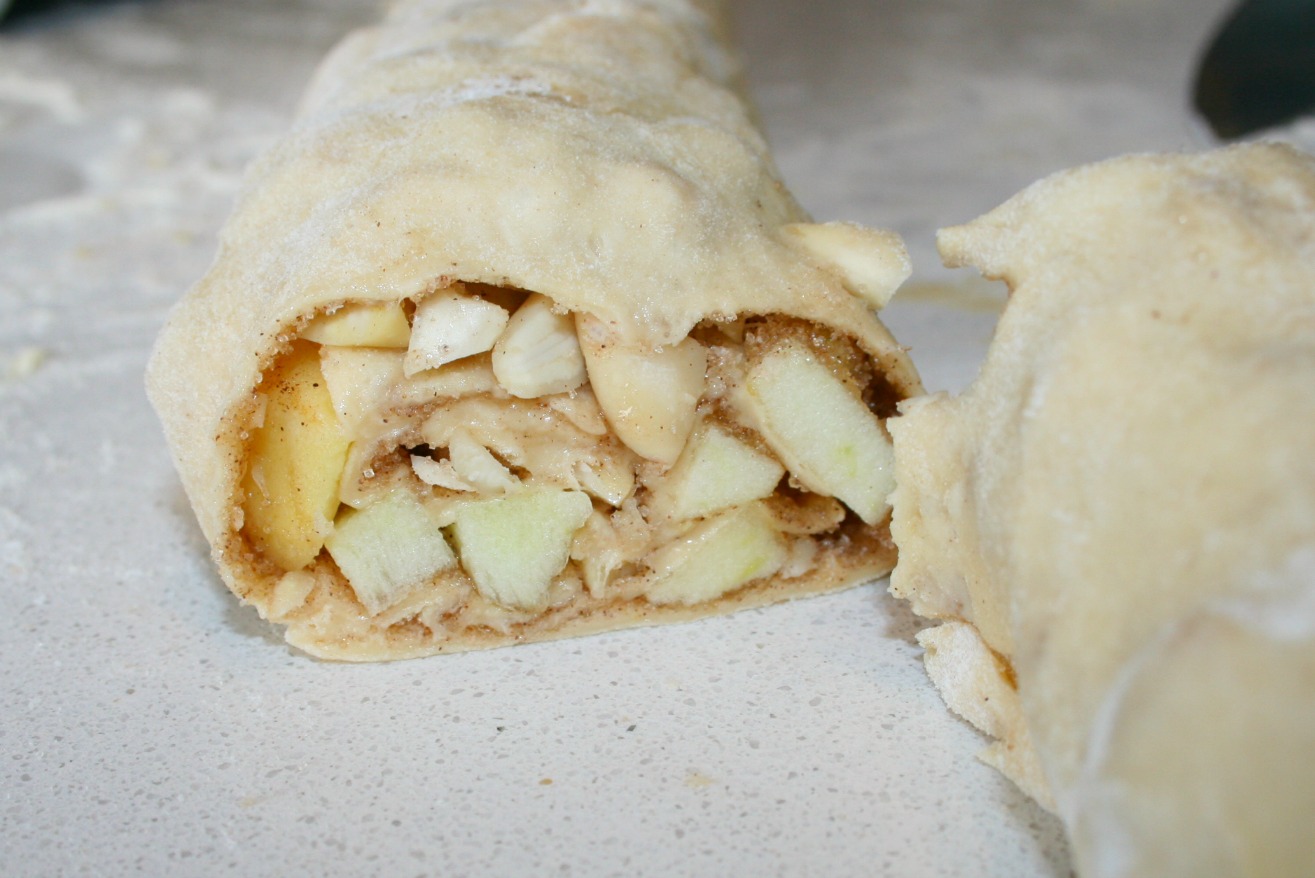
Enrolar devagarinho e com jeitinho :)
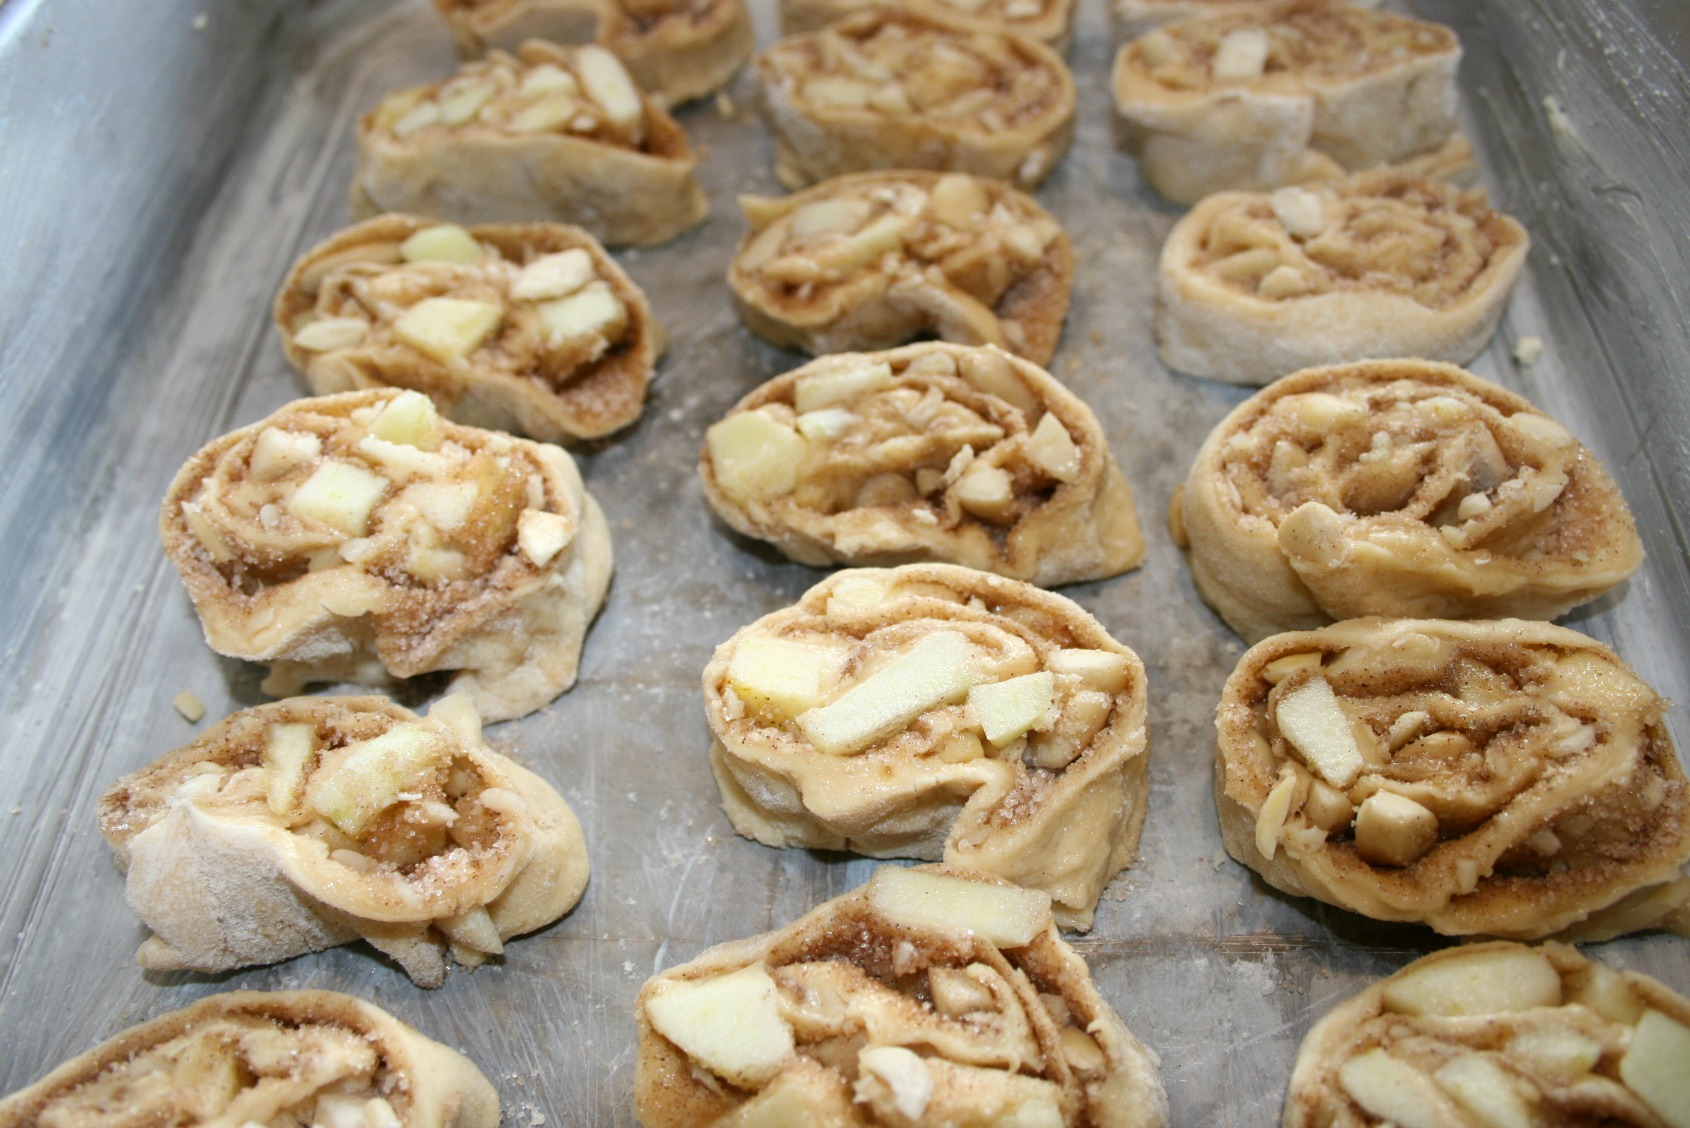
 RolosCanela4 Cortar em fatias RolosCanela5 Colocar as fatias no tabuleiro...fica mesmo bonito! RolosCanela6 Mais fatias...ai que fome! RolosCanela7 
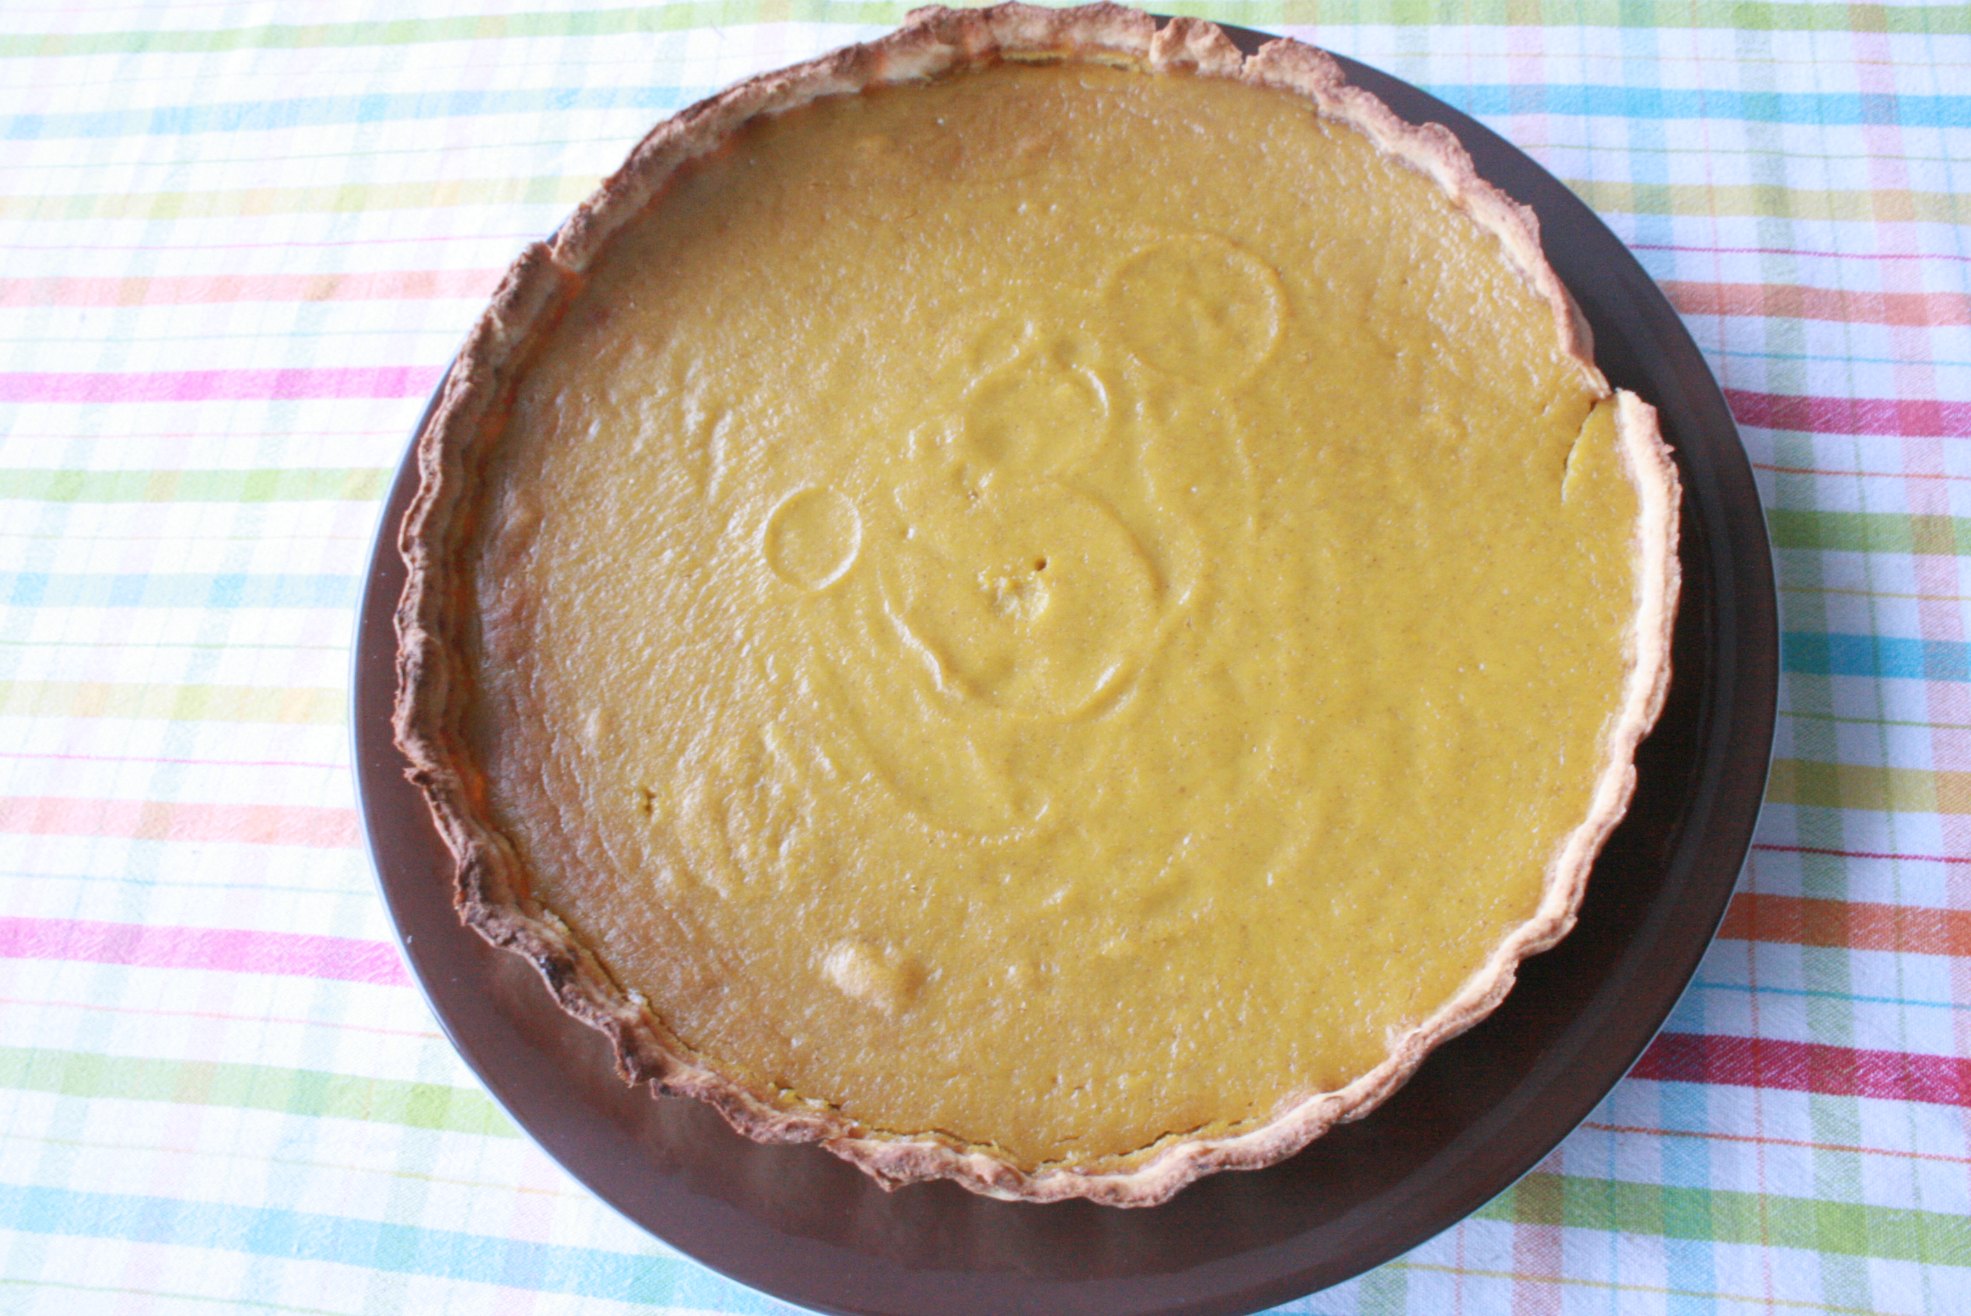
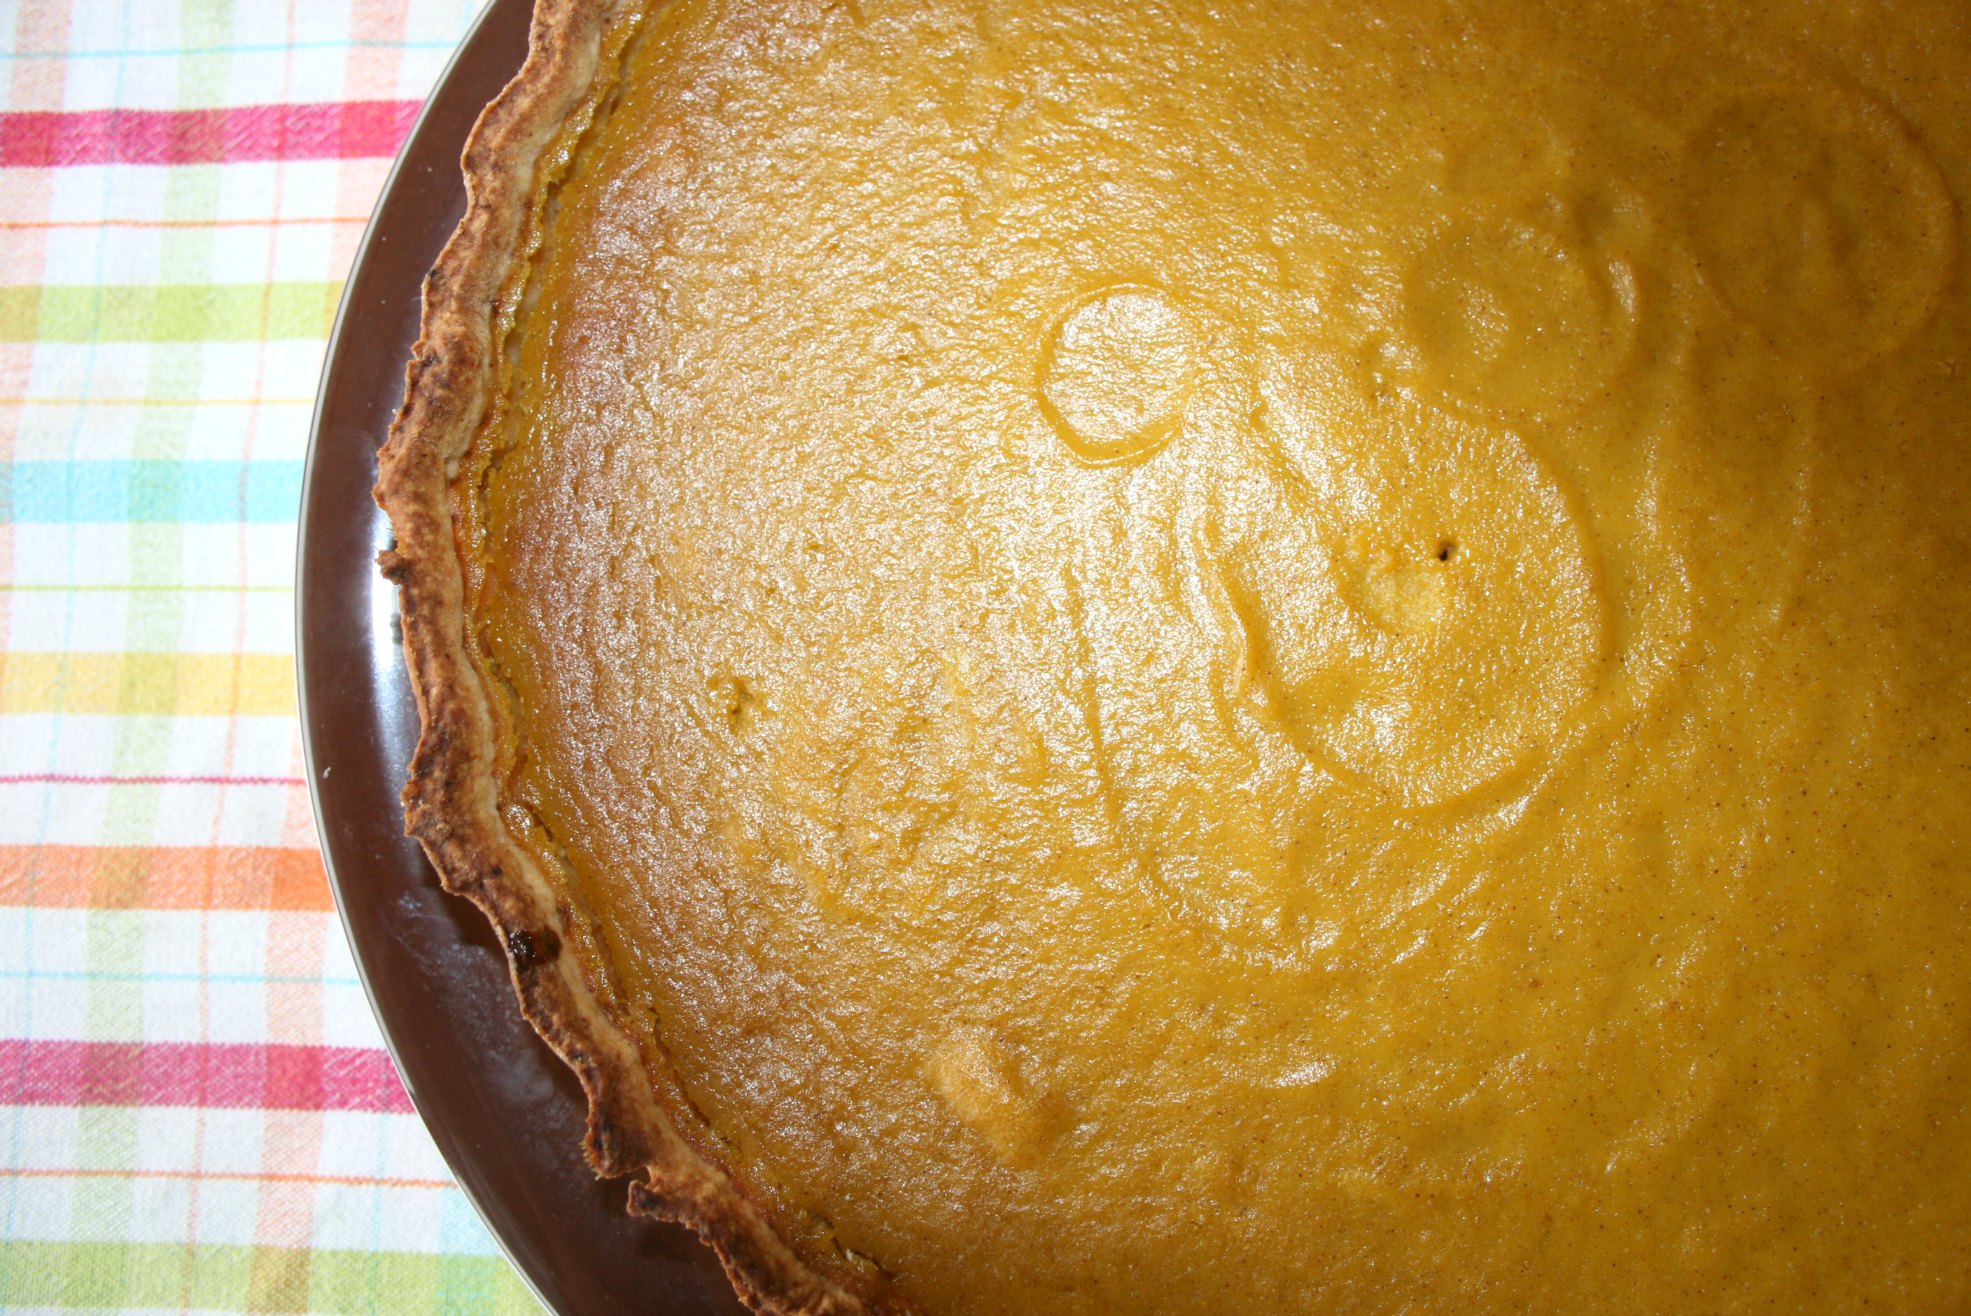
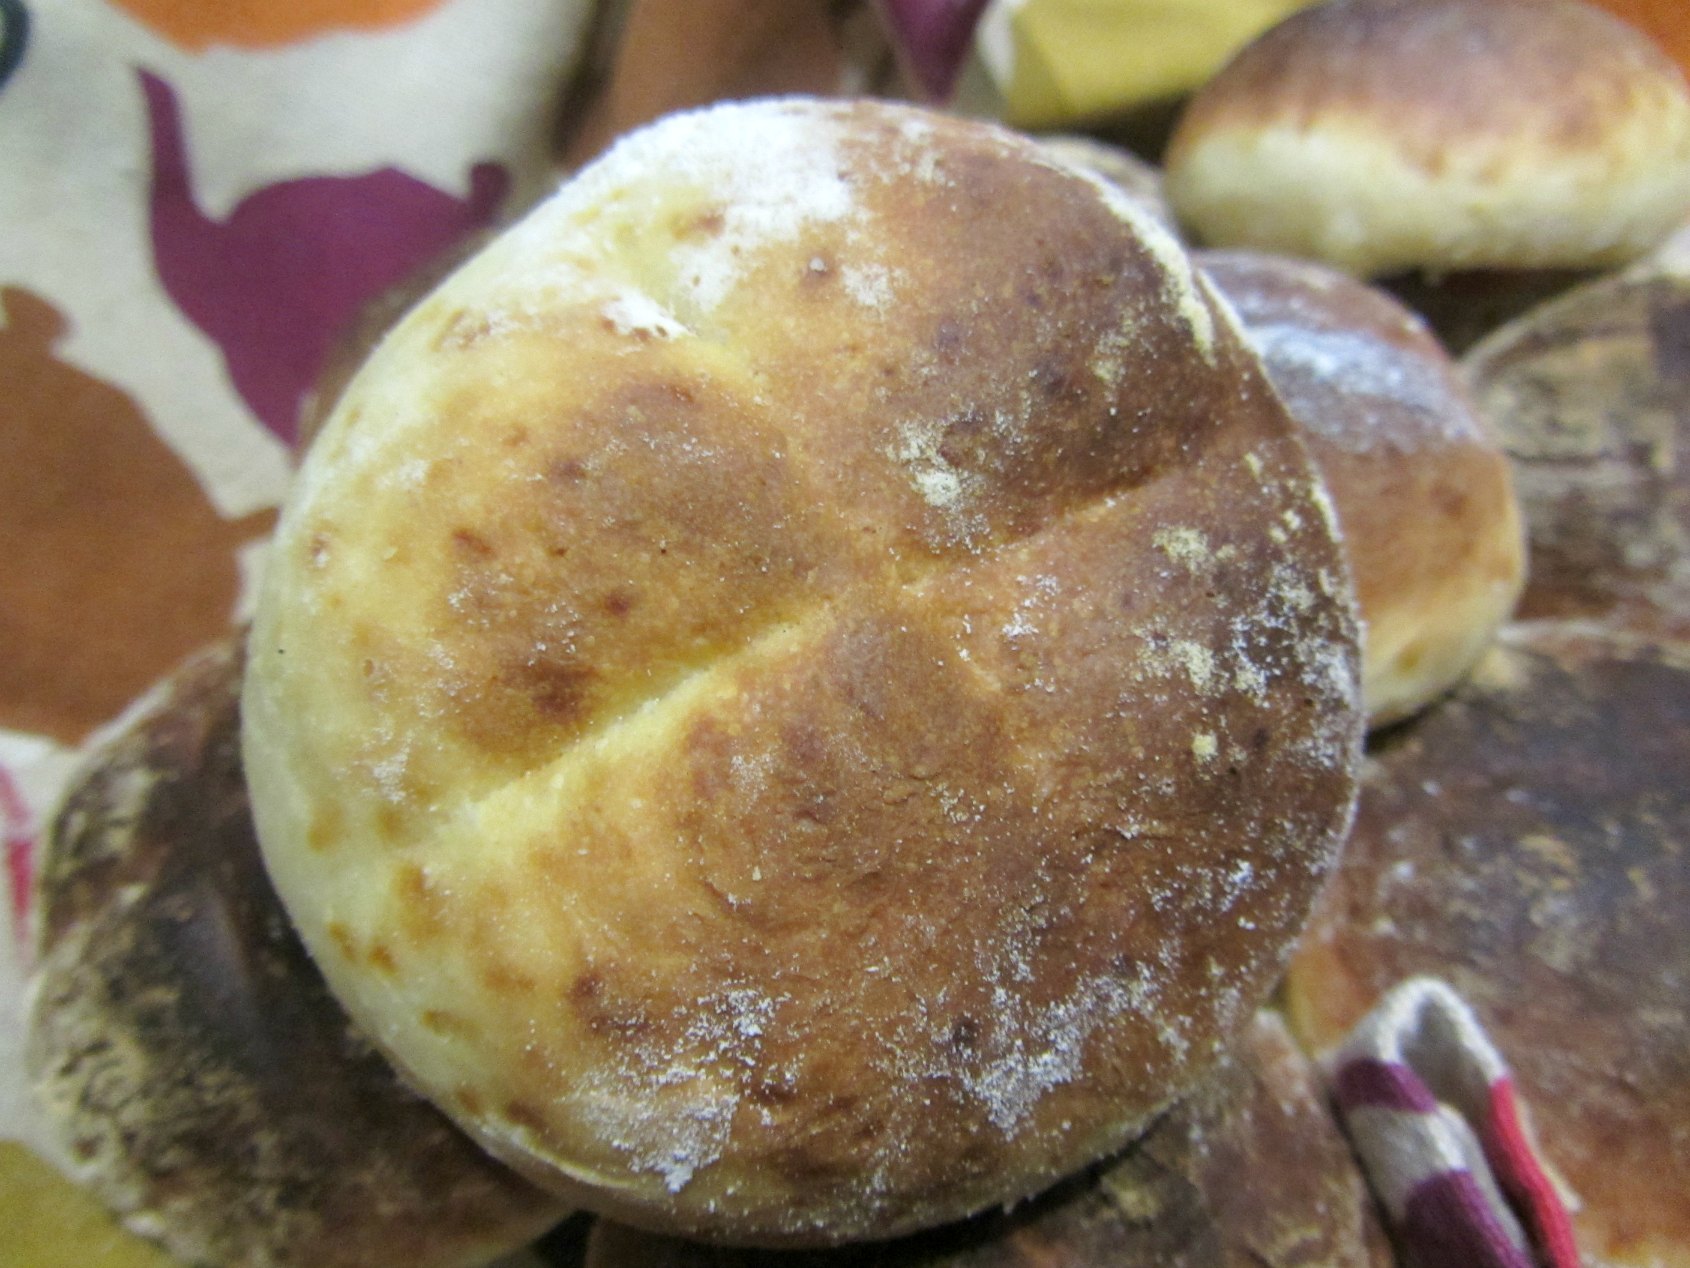
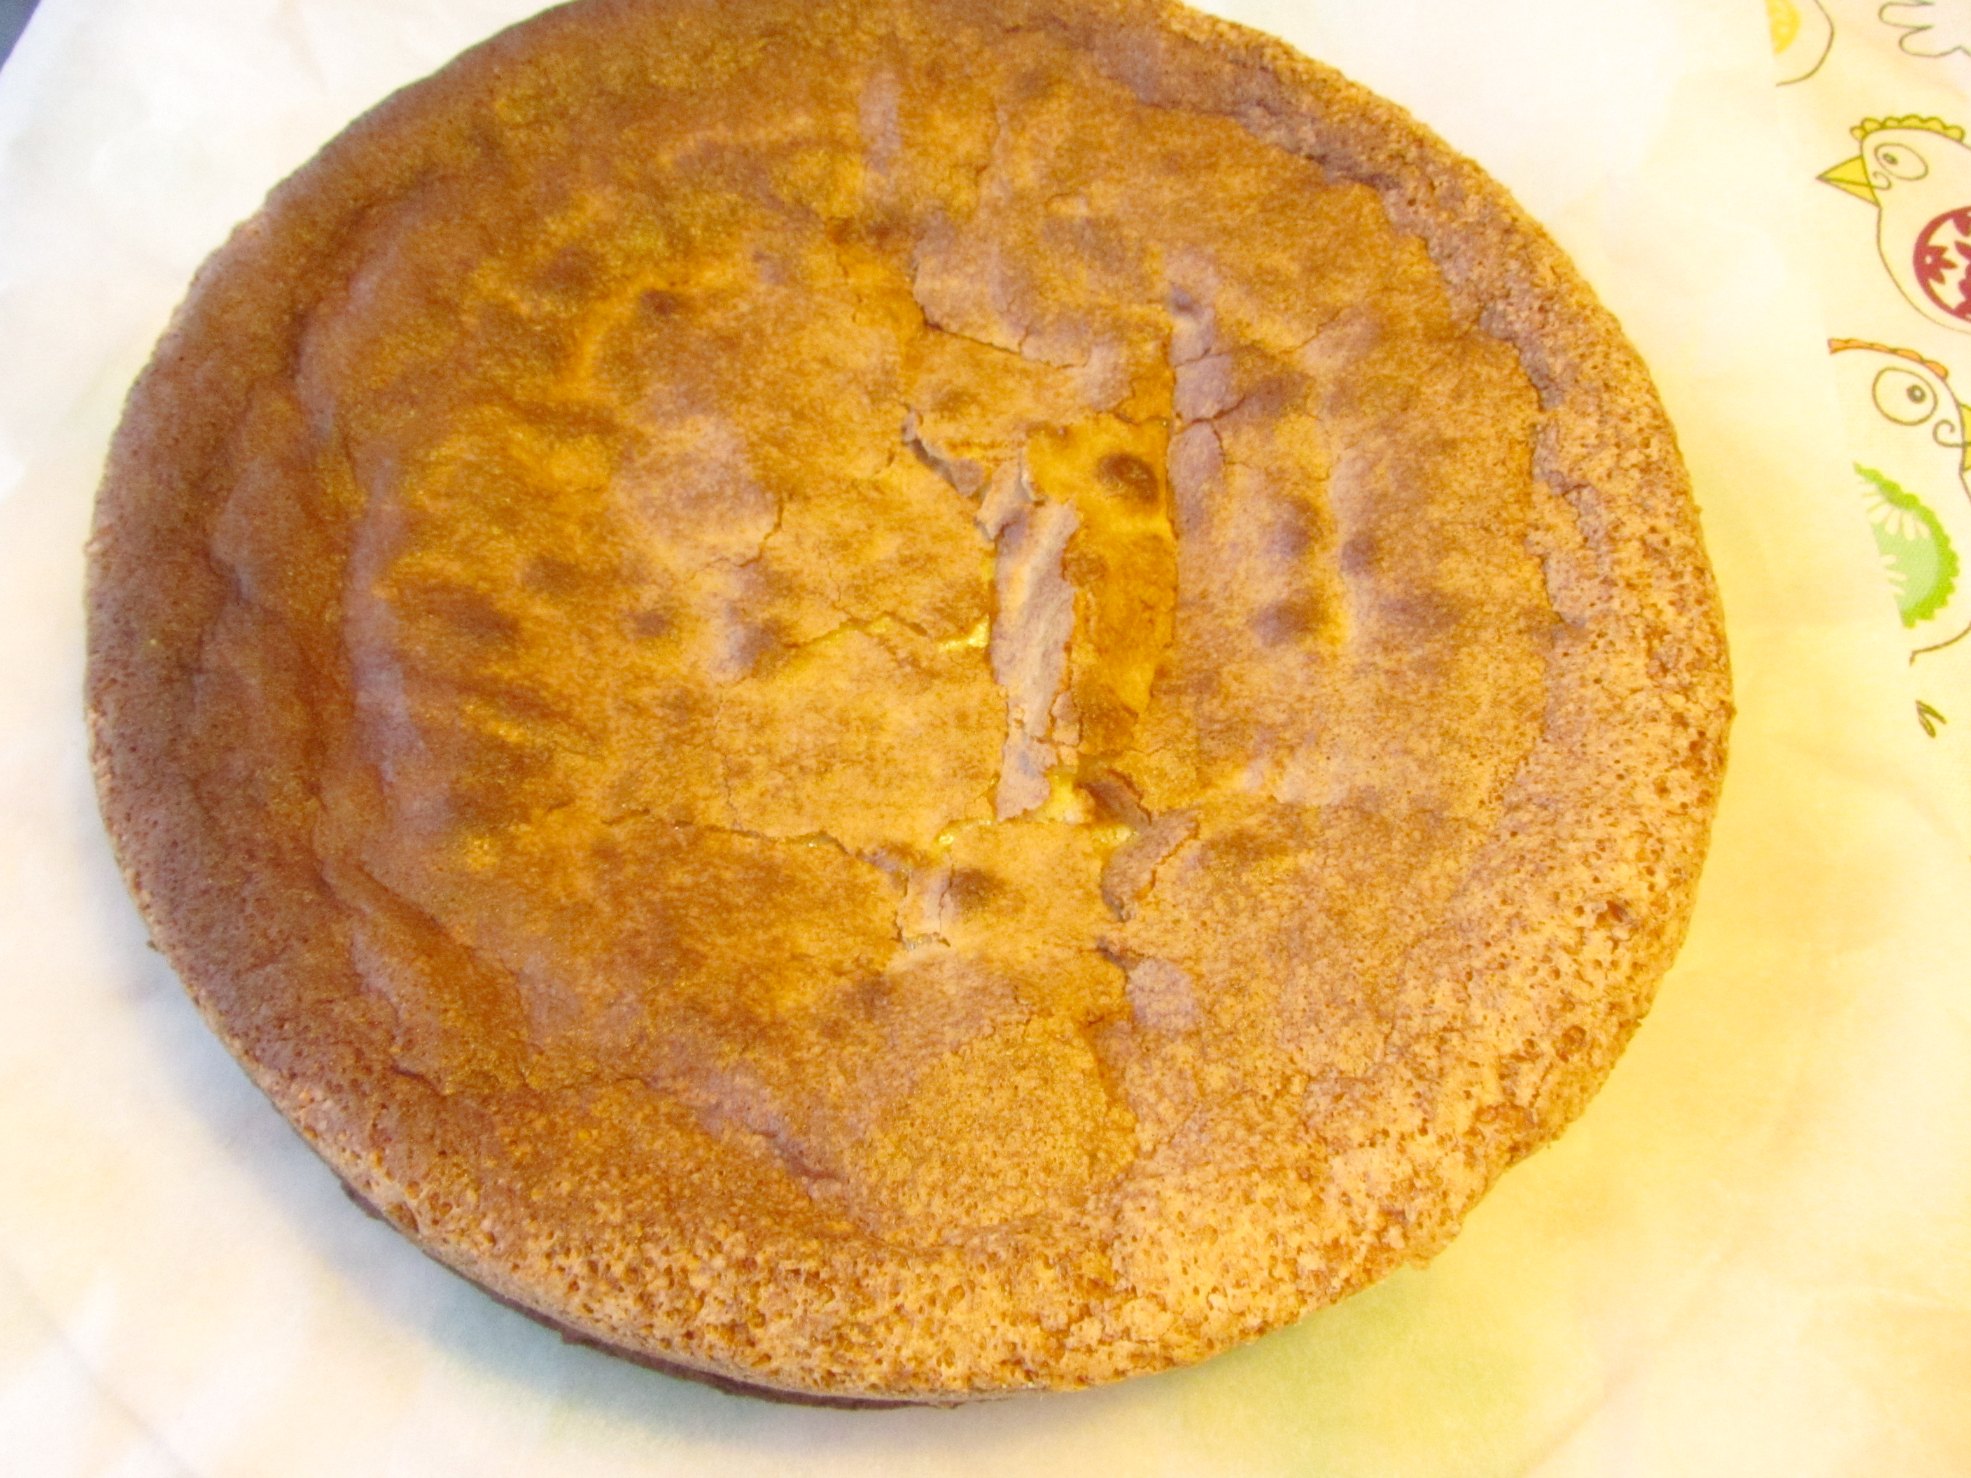
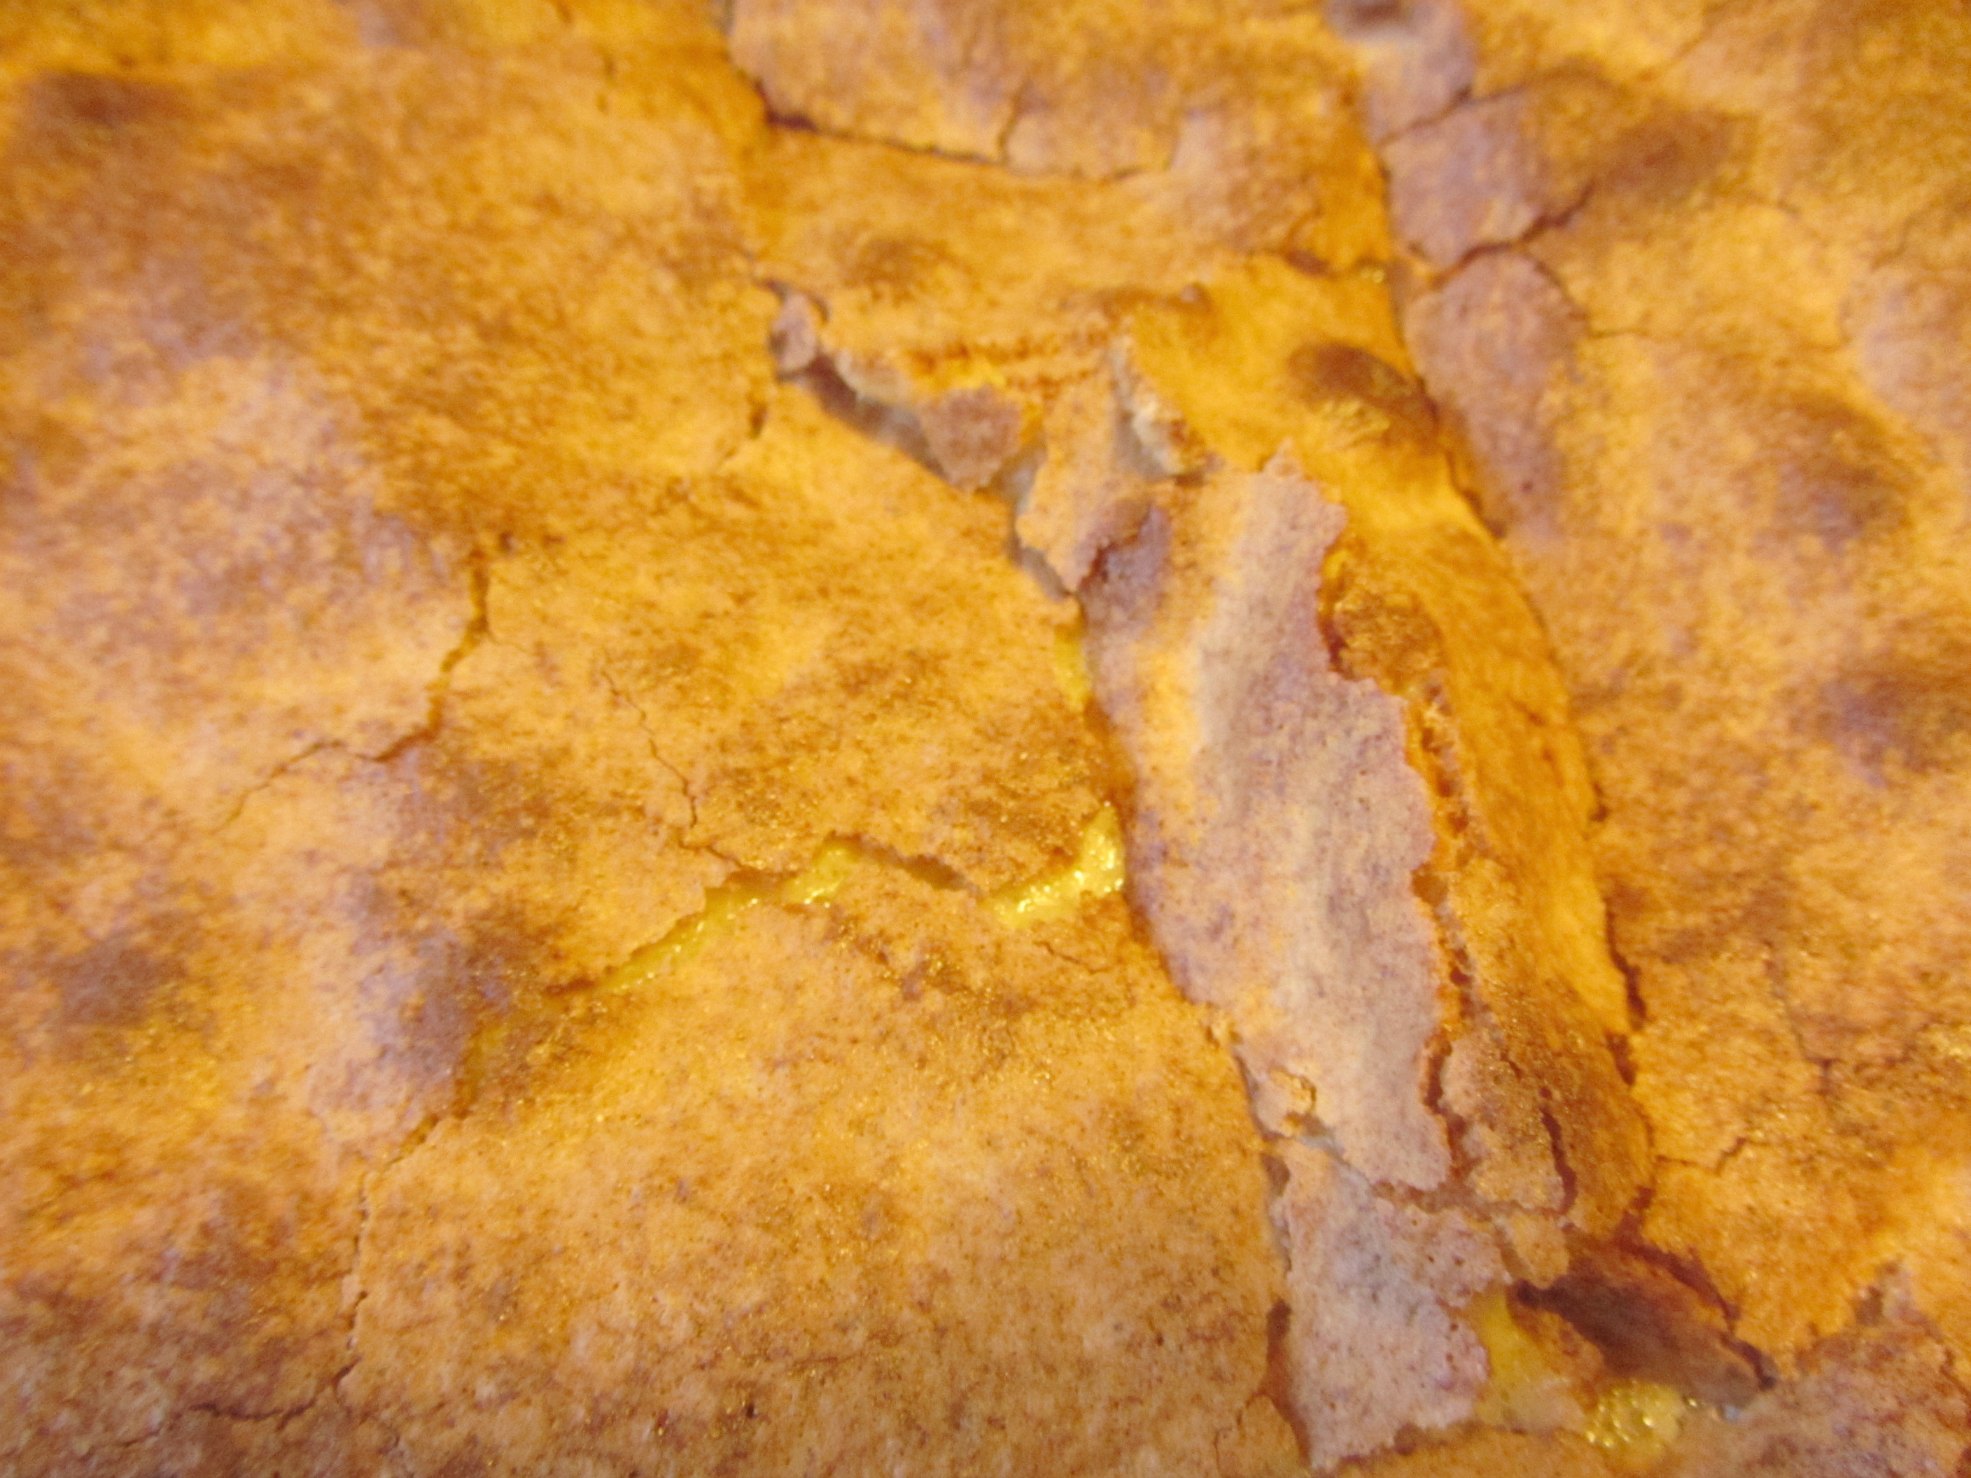
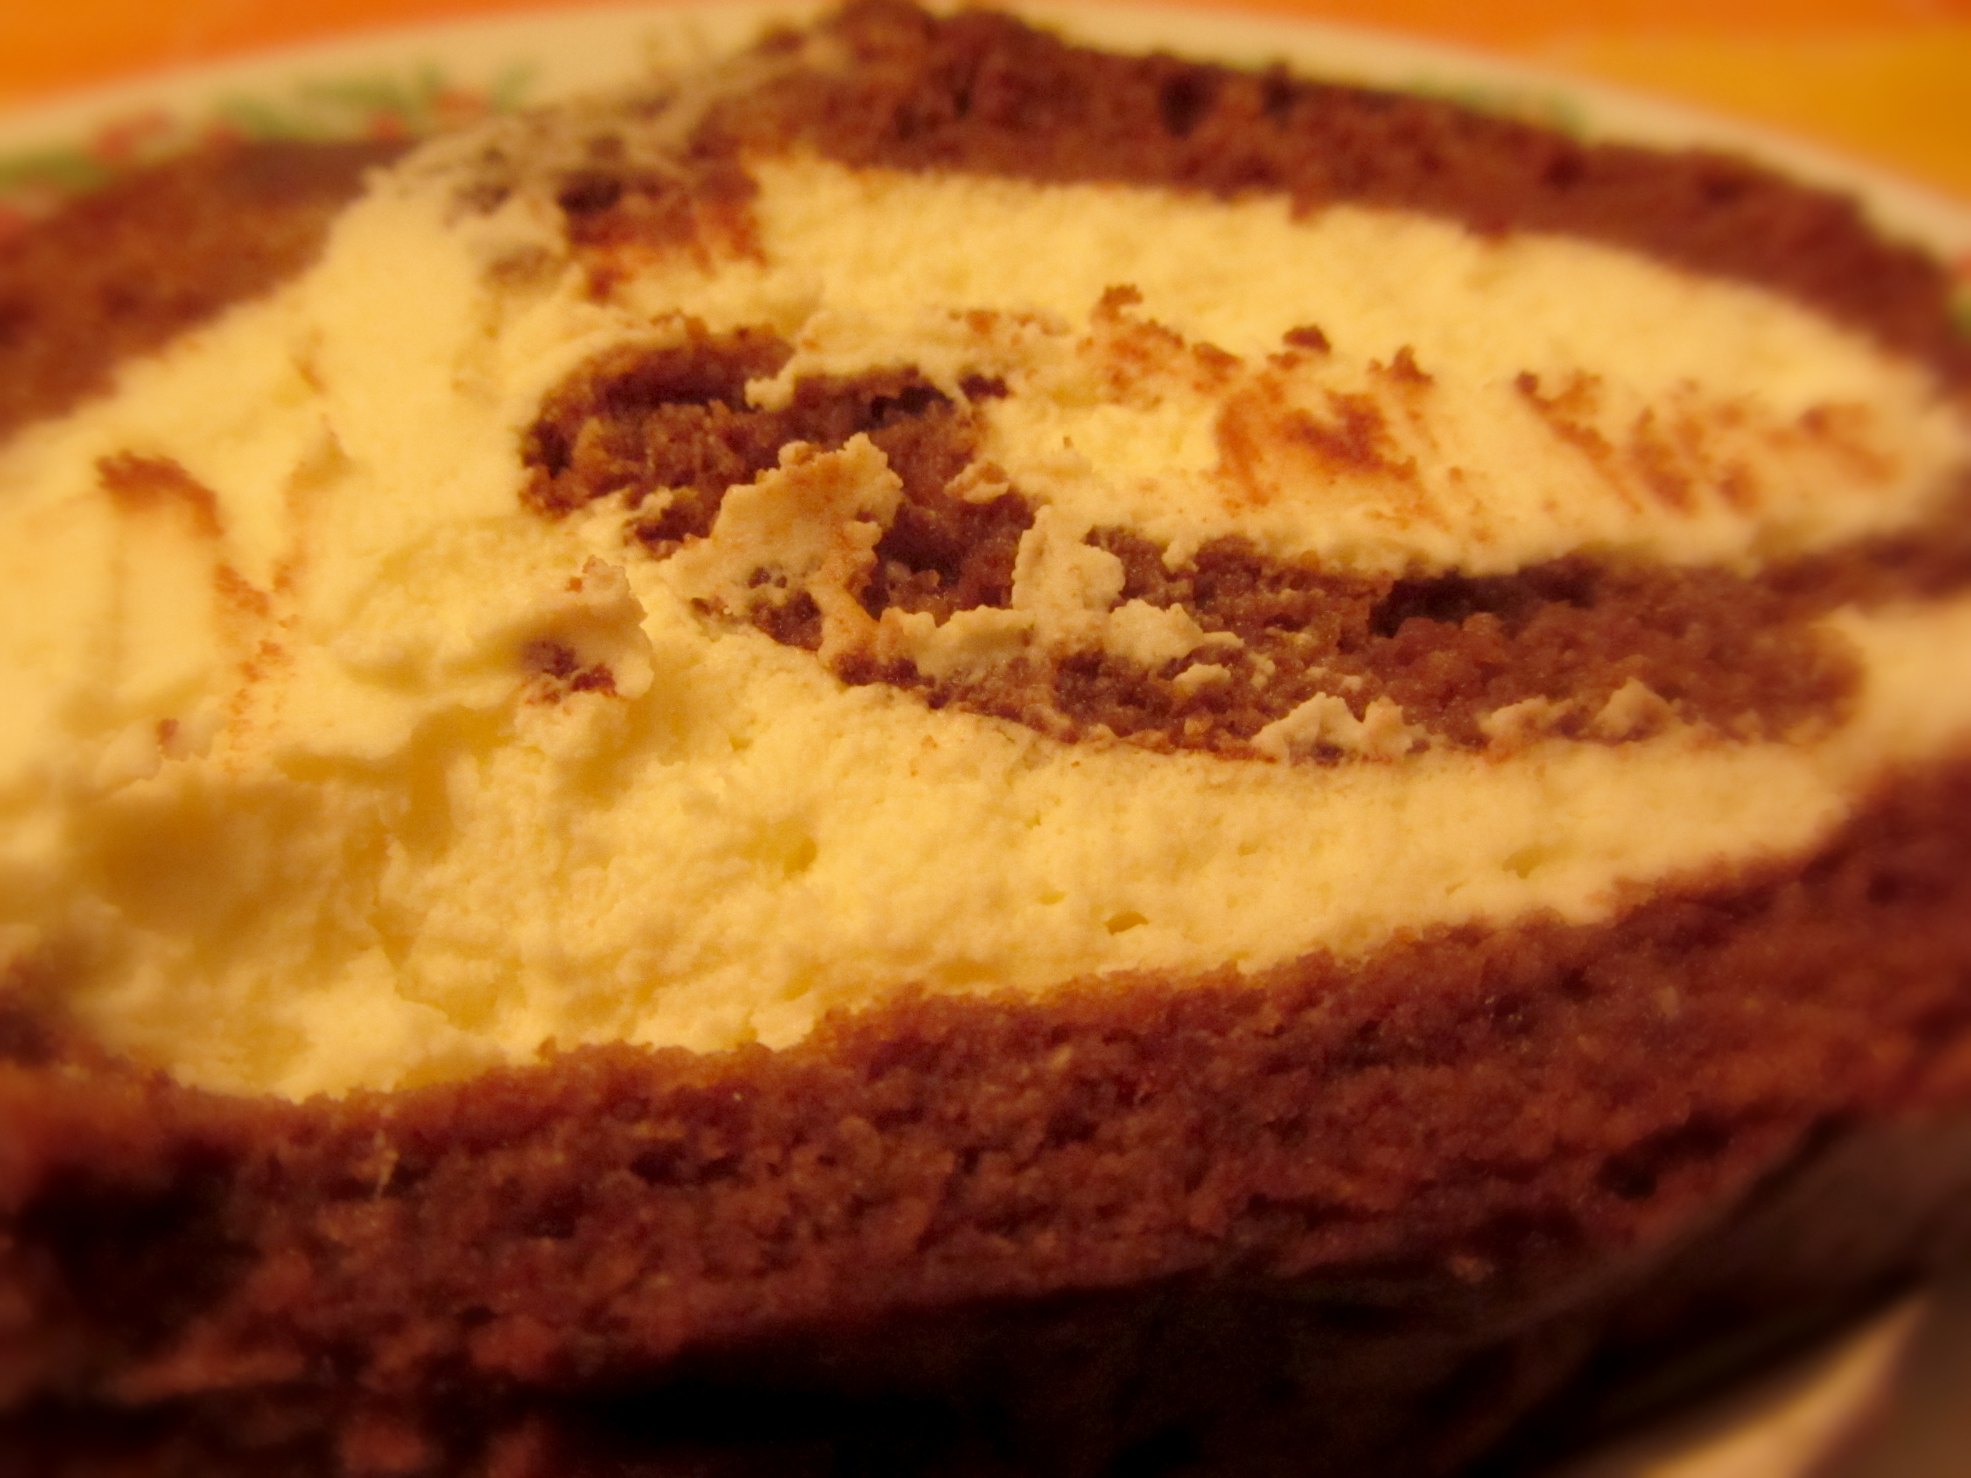
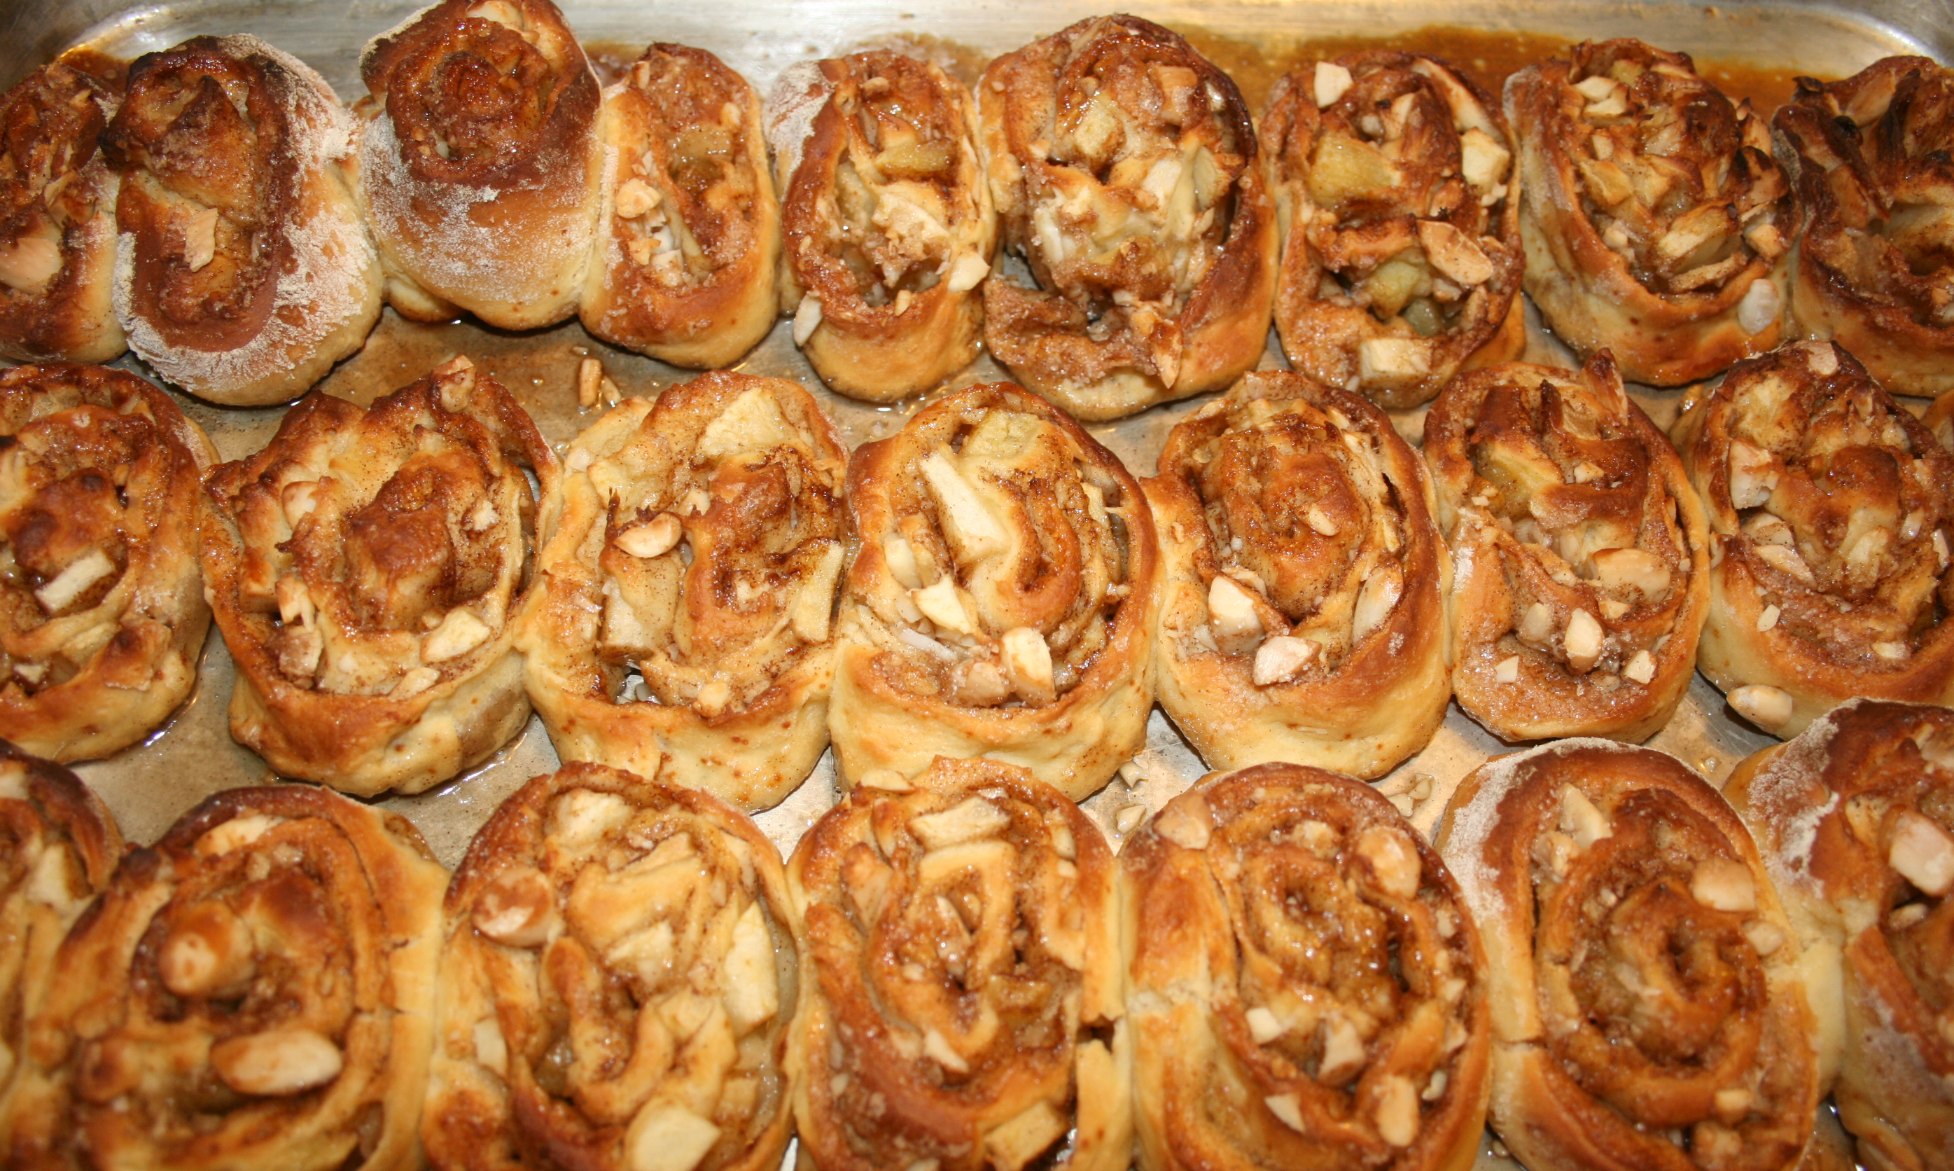
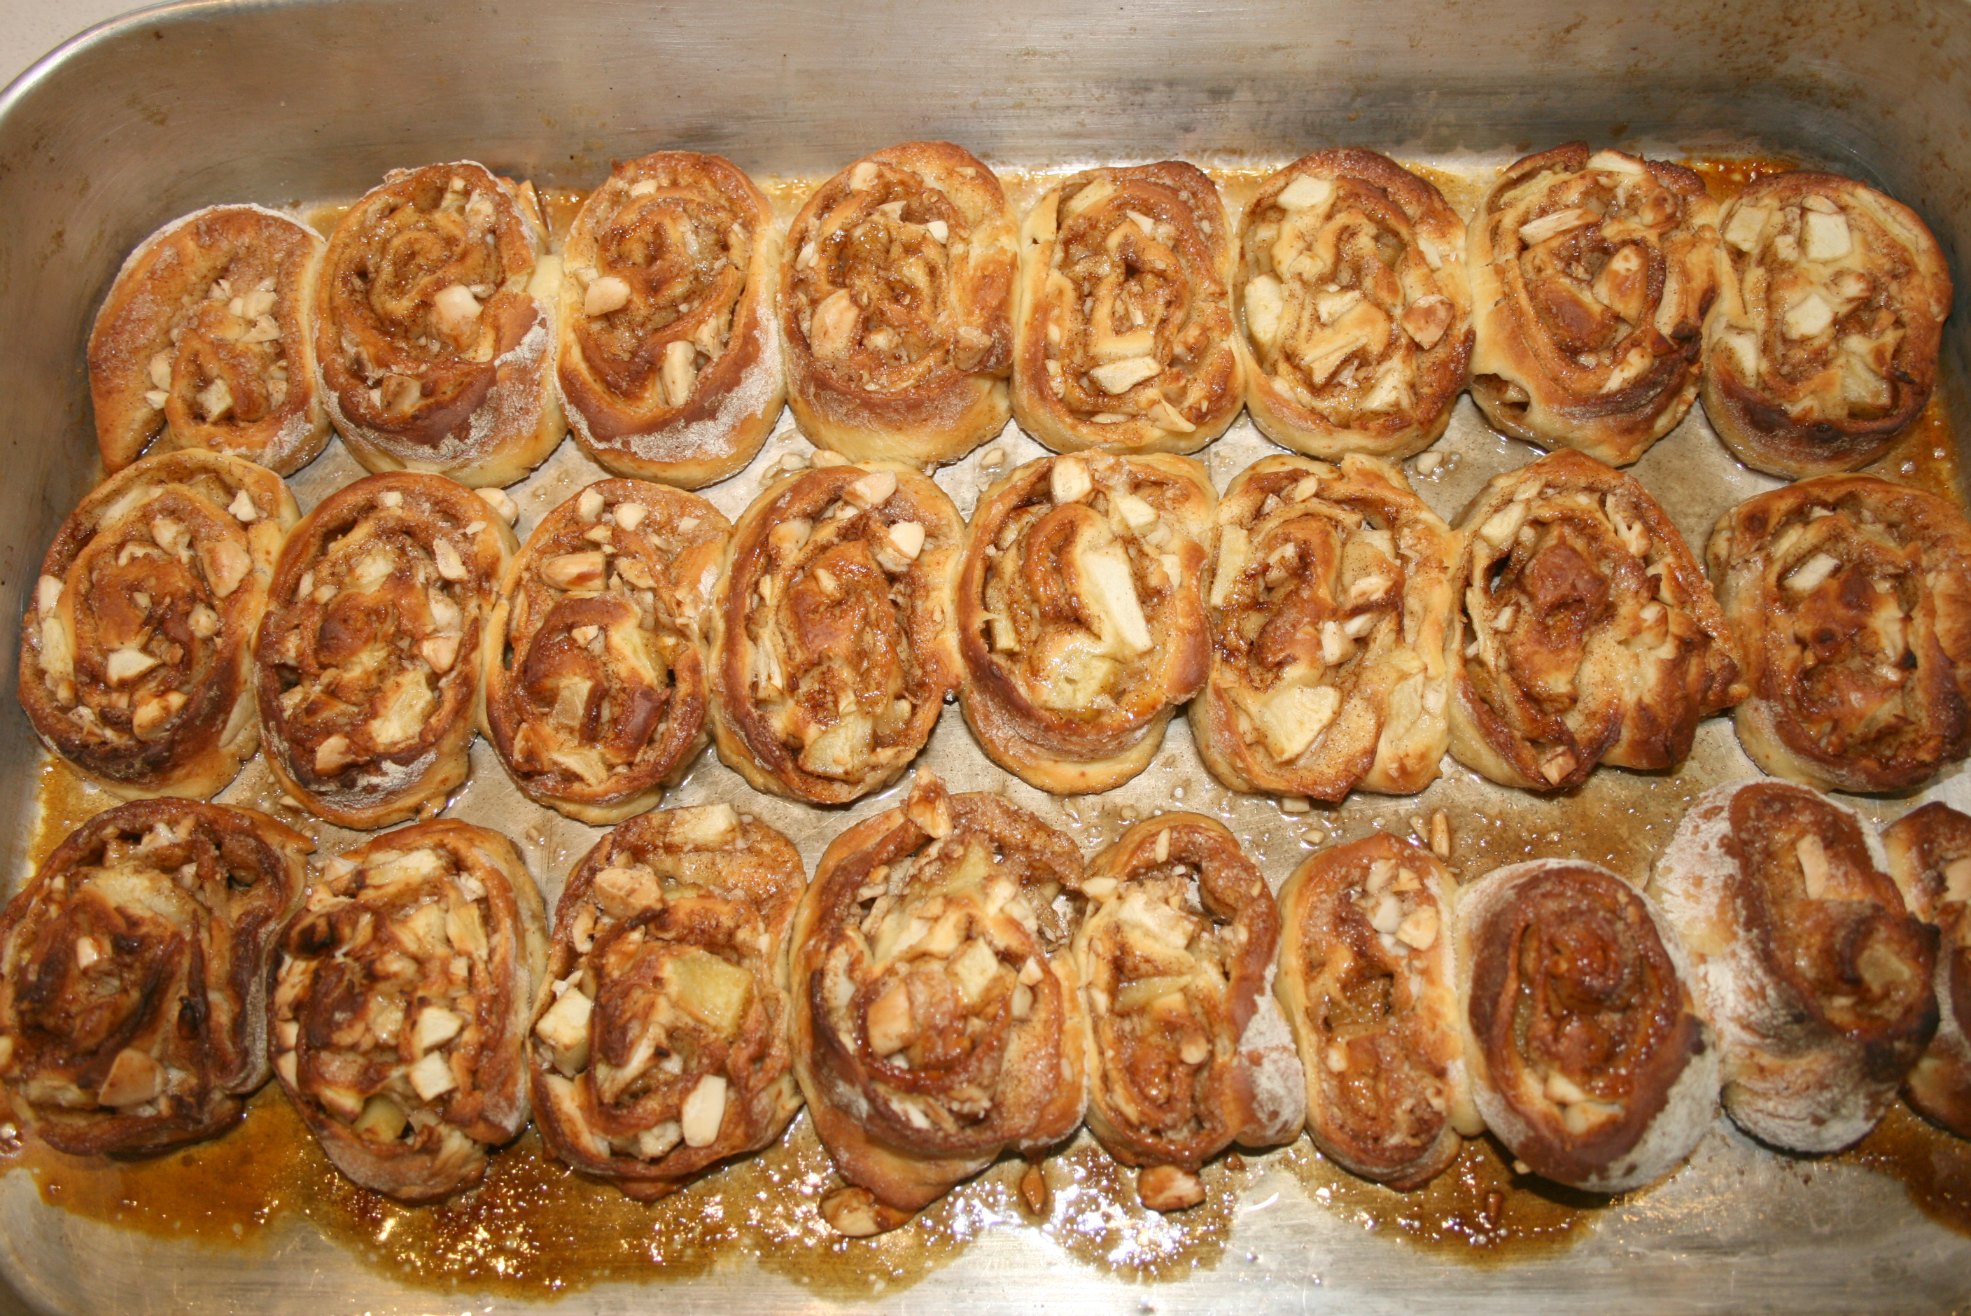
E aqui estão rolinhos bem tostadinhos e caramelizados! RolosCanela8 Calma tem que chegue para todos! RolosCanela9

Agora vamos lá à receita! 
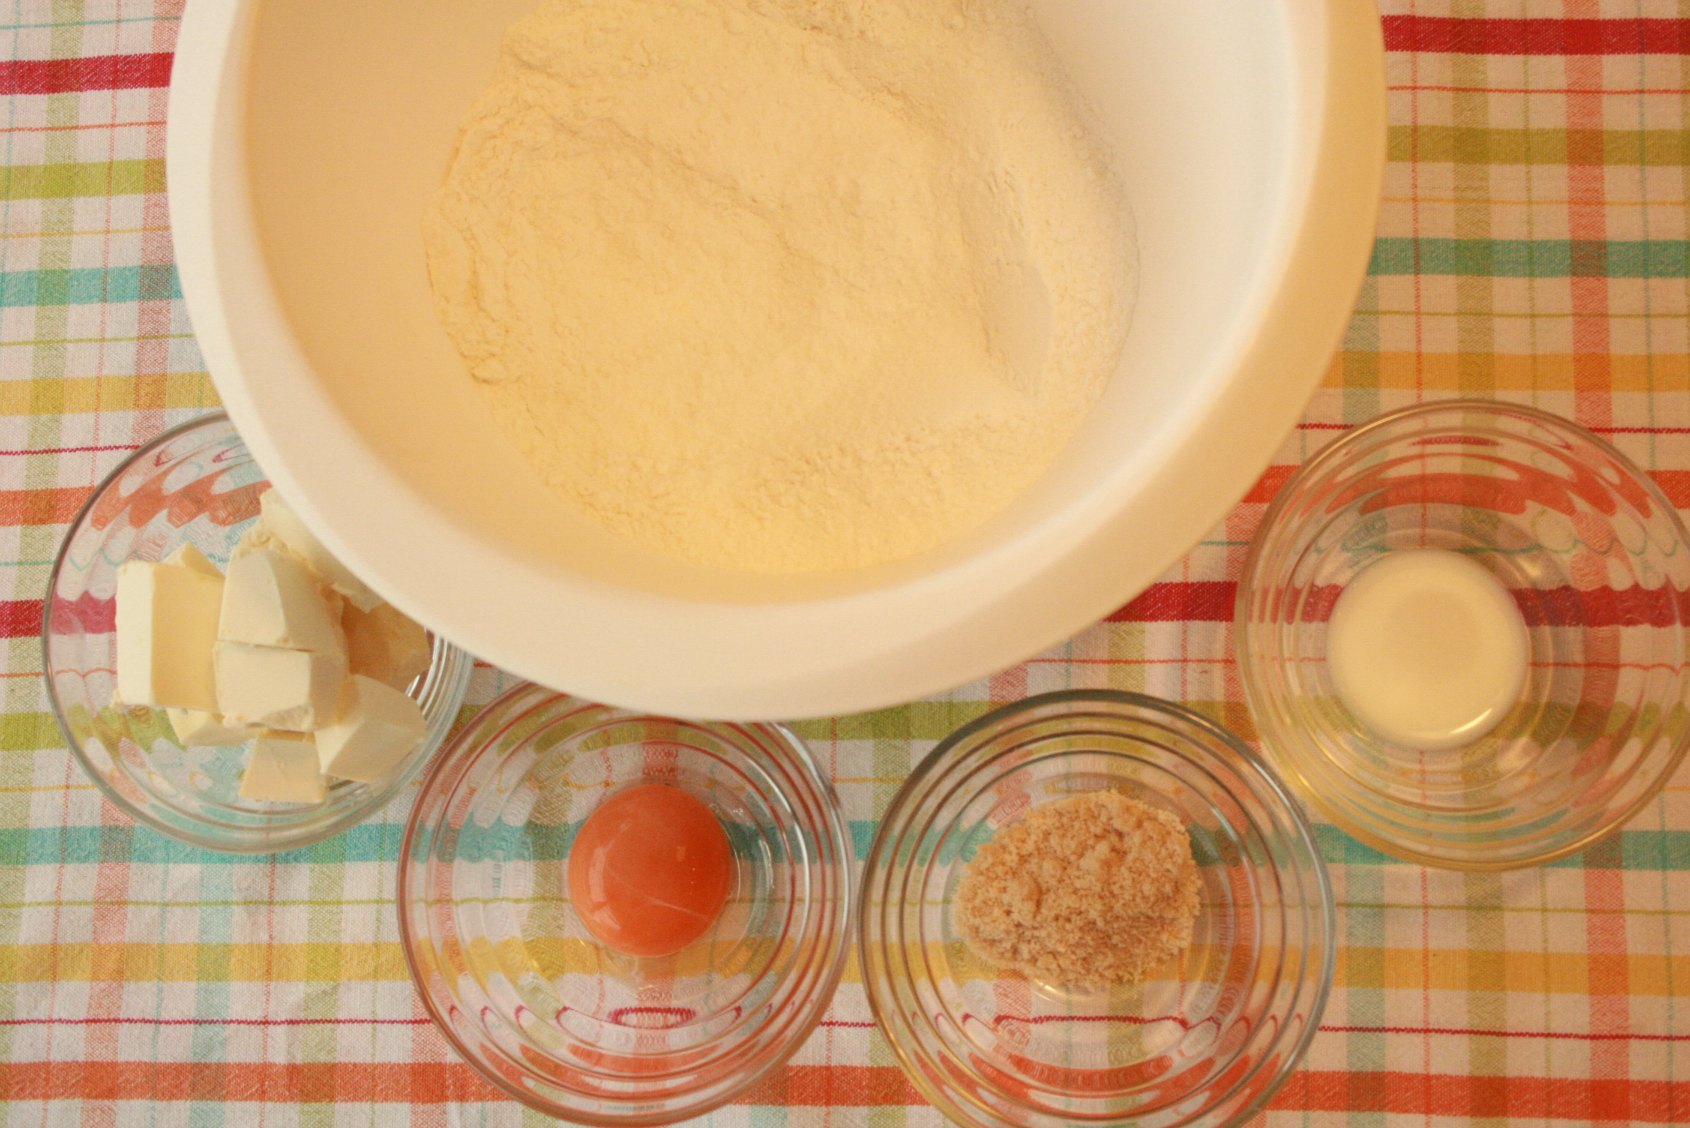
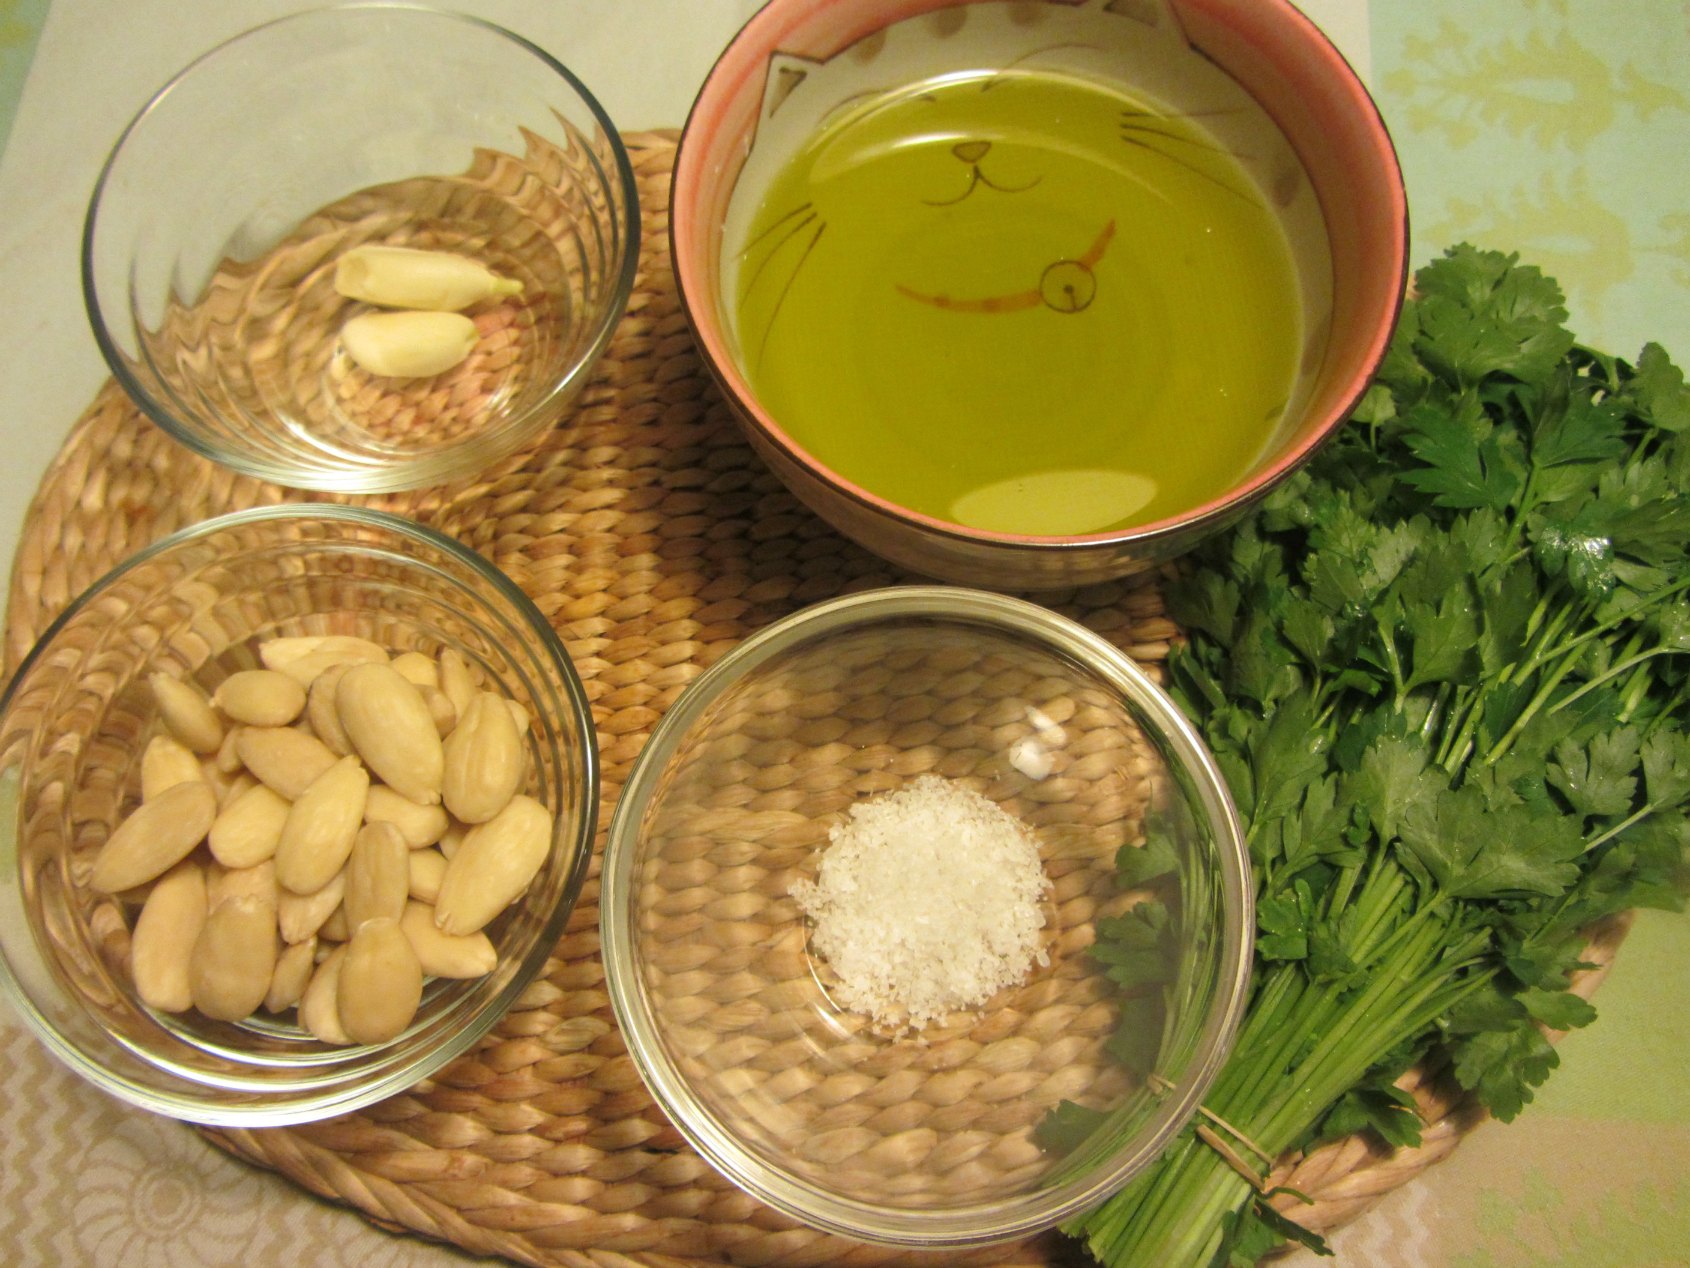
Ingredientes
Massa
340 gr de farinha
70 gr de açúcar
125 ml de leite a temperatura ambiente
115 gr de manteiga sem sal a temperatura ambiente
60 ml água morna
1 ovo
1 gema
7 gr de fermento seco
1 colher de café de sal
1 colher de chá de extracto de baunilha

Recheio
1 chávena de açúcar amarelo (podem utilizar açúcar normal)
2 colheres de chá de canela
3 maçãs
60 g de amêndoa picada grosseiramente (podem tostar previamente se preferirem)

Numa taça juntar o fermento, açúcar e a água morna e utilizar uma batedeira para misturar bem. Depois adicionar o leite, ovo e gema de ovo, baunilha. Mexer com uma vareta. Adicionar a farinha e o sal e com as mãos ou uma batedeira de massa trabalhar a massa até consistência homogénea. Adicionar a manteiga e com uma batedeira mexer bem. Colocar a massa num recipiente untado de óleo e passar a massa por óleo com a ajuda de um pincel. Reserver num local morno cerca de 2h ou até duplicar de tamanho.

Tendo os ingredientes do recheio preparados (misturar o açúcar e a canela) esticar bem a massa até formar um rectângulo, colocar por cima o açúcar misturado com a canela, as amêndoas e as maçãs tudo cortado em pequenos pedaços. Começar a rolar a massa do lado maior e devagar e carregando até ai fim da massa. Um truque é mollhar com água a final da massa para "colar" bem e fechar o rolo.
Cortar em fatias e colocar num tabuleiro com papel vegetal (eu não coloquei e convém). Deixa passar cerca de 30 minutos a 1 hora em repouso e depois vão ao forno a 180ºC cerca de 30 minutos.

:::

I adore cinnamon and the classic combination of cinnamon and apple is one of the flavours I enjoy the most. A few years ago I did cinnamon rolls and the result was really beautiful but the dough wasn't quite good enough. So this time around I studied some recipes and tried this new version that came out really good. The dough was thinner and lighter and the filling caramelized each roll making it beautiful, glossy and irresistable. Perfect for a weekend snack.

Ingredients
Dough
340 gr flour
70 gr sugar
125 ml milk at room temperature
115 gr unsalted butter at room temperature
60 ml warm water
1 egg
1 egg yolk
7 gr dried yeast
1 pinch of salt
1 tsp vanilla extract

Filling
1 cup of yellw sugar (you can use regular sugar too)
2 tbs of cinnamon
3 apples
60 g of chopped almonds (you can toasted them previously if you like)

In a bowl mix the yeast, sugar and warm water. Then add the milk, egg and egg yolk and vanilla. Mix with a spatula or whisker. Add the flour, salt and with a mixer with the dough hook attached mix well for some minuts. Finally add the butter. Put the dough in a container with oil and with a kitchen brush spread the oil around the dought. Let it rest for 2 hours.
Prepare all the ingredients of the filling chopped and mix the sugar with the cinammon.
Spread the dough into a rectangule, pour the filling and roll gently. When done cut in slices and put them in a oven tin (with parchment paper). If possible let the rolls sit between 30 minutes to an hour. In the oven it goes (180ºC) for 30 minutes.
Enjoy this delicious rolls!

Tarte de abóbora ::: Pumpkin Pie

29.1.14
Apesar da época mais forte da abóbora já ter passado eu costumo ter sempre abóbora congelada quer seja para fazer sopa, doces ou esta tarte de abóbora que adoro. E estando o Outono/Inverno a ser bem frio e chuvoso é uma receita que sabe muito bem e tem uma cor linda bem forte e quente.
Gosto especialmente desta receita pois contém especiarias que dão um sabor exótico interessante e que contrasta muito bem com o sabor doce da abóbora. Inspirei-me na receita do livro The Essential Vegetarian Cookbook.

Tarte de abóbora1 Tarte de abóbora2 Tarte de abóbora3 Igredientes
Massa 
155g farinha
100g manteiga em pedaços
2 colher chá açúcar
4 colher sopa água fria
1 gema de ovo misturada com
1 colher sopa de leite

Recheio
2 ovos ligeiramente batidos
140g açúcar mascavado
500g abóbora cozida e reduzida a puré
80ml natas
1 colher chá vinho do porto
1 colher chá canela
1/3 colher chá noz moscada
1/2 colher chá gengibre moído

Para a massa: peneirar a farinha para uma tigela e misture a manteiga aos pedaços com a ponta dos dedos. Juntar o açúcar e água. Colocar a massa numa superfície enfarinhada e trabalhar a massa até ficar macia. Juntar mais água se necessário. Estender a massa e forrar uma forma de tarte levando em seguida para o frigorífico durante 30min. Retirar do frigorífico e picar ligeiramente a massa com um garfo. Cobrir com papel vegetal e calcar com feijões levando ao forno durante 10min. Depois retire os feijões e o papel, pincelando a massa com ovo e leite e levar ao forno durante mais 15 min.
Para o recheio: Bater os ovos e açúcar. Adicionar o puré de abóbora entretanto arrefecido, natas, vinho do porto e as especiariais. Deitar a mistura na tarteira com a massa e levar ao forno durante 40min (170ºC).

tarte de abóbora5
:::
Pumpkin season screams for baked pumpkin sweets. Although the season has passed I usually have pumpkin in the freezer and with this cold weather it is still a great recipe. I love this pie recipe with the curious taste of spices in it. It was the second time I did this pie and I changed a little bit the recipe and it turned out better, the pastry more crunchy and the filling more flavoured. The recipe was adapted from The Essential Vegetarian Cookbook.

Ingredients
Dough 
155g flour
100g butter (cut in small squares)
2 tbs sugar (used brown sugar)
 4 tbsp cold water
1 egg yolk and
2 tbsp of milk

Filling
2 eggs (slightly mixed)
140g brow sugar
500g pumpkin pure
80ml of cream
1 tbs port wine
1 tbsp cinamonn
1/2 tbsp ginger powder
1/3 tbsp nutmeg

For the dough: mix the flour and the butter with your fingertips. Be patient :). Add sugar and water and work the dough in a surface with more flour until it is smooth. Add more water if necessary. Roll out the dough and lay it in a tart/pie tin and put it on the refrigerator for 30min. Remove the tart tin from the refrigerator, pick the bottom with a fork and place a sheet of parchement paper over the dough. Spread dried beans on top of the paper and bake the dough for 10min. Remove the beans and paper, and brush the dough with the egg yolk and milk. Bake in the oven for more 15min.
For the filling: beat the eggs with the sugar. Add the pumpkin pure (cold), the cream and spices. Pour this misxture in the tart form and in the owen it goes for 40min (170ºC).
Enjoy!

Velas perfumadas ::: Scent of candles

24.1.14
Enquanto não coloco aqui as próximas receitas, cujos textos estou a preparar, lembrei-me de vos falar e perguntar se gostam de perfumar a vossa casa, se o fazem diariamente ou apenas em ocasiões especiais?
No meu caso comecei por comprar aromas em spray e colocava na casa quando recebia visitas. Depois comecei a colocar mais vezes pois a aromaterapia pode ser um excelente aliado para o nosso bem estar em casa. Senti que funciona mesmo. Algo que raramente utilizava eram velas perfumadas pois associava sempre a cheiros demasiados fortes e enjoativos ou por outro lado demasiado fracos e que rapidamente perdiam o seu aroma...
Apenas recentemente encontrei uma, já famosa marca, onde os aromas são realmente bons e a vela de grande qualidade. E assim passei a acender velas perfumadas mais regularmente e adoro sentir um aroma bom pela casa.

Velas1 Velas2 Velas4

Numa incursão pela baixa deparo-me com a loja do representante da marca em Portugal e foi difícil vir embora sem nenhuma vela (quero gastar primeiro a que tenho em casa). Aproveitei sim para sentir muitos e novos aromas da marca e já tenho 2 preferidos para numa próxima comprar: Lovely Kiku e Turquoise Sky. As velas, principalmente as grandes, não são nada baratas mas realmente têm uma excelente qualidade e a durabilidade é de confiança. Podem sempre aproveitar os descontos em aromas seleccionados por mês. Na loja onde fui estavam com 30% de desconto em 2 aromas relacionados com dia de S. Valentim.

E vocês gostam de perfumar a vossa casa? E o que utilizam?


:::
While I'm preparing the next recipes to update the blog I remembered to ask if you enjoy using any fragances at home, either in spray or candles...if so do you use everyday or only on special occasions? I started using sprays around the house but only when I had guests or on special occasions. But then I enjoyed it so much that I started using frequently. Aromatheraphy really works and I have good vibes when my house is smelling good and warm.
So only recently I discovered a already very famous brand and their candles are really good quality and the fragrances last and are delicious. You have so many options you will find the one for your home.
And after my discovery I also found surprisingly the store of the national afiliate of this brand. And I had the chance to experiment so many scent's and choose the next ones: Turquoise Sky or Lovely Kiku.
Talking about prices they are not very cheap but you can always take advantage of the montlhy discounts they have in selected fragrances. They really last the time they say, which is many many hours.

What about you, dear reader, do you like to use candles or other fragrance devices? How often do you use them?

Pãezinhos rápidos ::: Easy and quick bread

20.1.14
Este Domingo foi dia de lanchar pão feito em casa. Sempre gostei de fazer pão fresquinho mas amassar nem sempre apetece e agora que nos ofereceram um robot de cozinha é uma grande ajuda para fazer pão. Fiz estes pães rápidos que não precisam de tempo para levedar a massa. São simples e saborosos e ligeiramente doces. Ficam fofinhos de um dia para o outro por isso pode ser uma excelente opção para fazer para o lanche da escola das crianças. Agora é por a mão na massa!

Pãezinhos Acabado de sair do forno

Ingredientes
350 g de farinha
170 g de leite
15 g de açúcar
50 g óleo
5 g fermento padeiro seco
1 ovo
1 pitada de sal

Por a mesa para o lanche com manteiga e compotas. Misturar e amassar bem todos os ingredientes.  Formar bolinhas com a massa e vai ao forno cerca de 20min a 180ºC. Retirar do forno e ainda quentinho saborear os pãezinhos com manteiga a derreter :). Tentei tirar uma foto deste momento saboroso mas pão estava tão quente que só embaciou a lente...e depois queríamos era comer os pãezinhos todos antes que ficassem frios.
Pão fumegante
:::

This Sunday was home made bread for lunch. I always enjoyed fresh baked bread but mix and making the dough sometimes you just don't feel like getting all messey. This quick bread does not need time to rise the dough. They are simple, tasty and a little sweet. They maintain their fluffiness the next day so it can be a great option for lunch snacks for the kids to bring to school.
Now let's get started!

Ingredients
350 g flour
170 g  milk
15 g de sugar
50 g oil
5 g dried yeast (rapid dried yeast)
1 egg
1 pinch of salt

Set the table with butter and jams. Mix and blend all the ingredientes until you have a good dough consistency. Roll it to form small breads and in the oven it goes for 20 minutes (180ºC). Take the home made breads and enjoy them with melted butter :). I tried to capture a picture of this tasty moment but couldn't take better than this...and we all wanted to eat them all before they were cold :).

Print will not kill the web

15.1.14
Sempre gostei de livros. Tive fases que lia bastante, outras nem tanto. Também tive períodos em que lia apenas um género literário. Tentei ler mais do que um livro de cada vez mas nunca foi o meu género. Fico sempre com a história na cabeça e com vontade de continuar e o suspense do que vem a seguir.  Ter outra história a interromper a outra nunca me convenceu.
Mas existem livros que sempre gostei de ver e cada vez com mais interesse que são livros com ilustrações. Normalmente são nos livros de crianças que podemos admirá-las mas também existem fantásticos livros de diversos temas que primam por belíssimas ilustrações. E assim entro noutro Mundo, pois adoro observar os detalhes e perceber como de traços singelos se chegam a obras de arte lindas.
Para quem gosta de livros e os considera valiosos existe um site que adoro (e que esteve uns meses sem actualizações mas parece estar de volta) chamado "Book-by-it's-cover" onde tem artigos sobre inúmeras publicações de livros, muitos com ilustrações fabulosas.
Recentemente publicaram um artigo sobre um livro intitulado "Fully Booked". Este livro é uma compilação de diversas publicações, sobre as diversas funções de um livro, sobre o que ele nos dá, o que está detrás do design e do conceito de um livro. No fundo uma ode à impressão, ao livro físico, material.
E sendo um livro sobre livros tem, segundo a review do Book-by-its-cover, pormenores de design muito interessantes como a tonalidade de cor na união das folhas que parece dar a sensação da luz de um ecrã de computador...ficam algumas fotos e o link para o artigo completo.

FullyBooked-cover

FullyBooked-gutter

FullyBooked-spread1

:::

I always liked reading. There were times I read quite frequently other times not so much. I also had periods I read only one category of books but I never could read 2 books at the same time. I always wonder about the storyline and the suspense of what's next, and so having a story "interrupt" the other never convinced me.
But there are books I always admired and now even more, the ones with illustrations. Usually you find these in children book's but there are so many other books that incorporate these work of art. 
Speaking of books there is a site called Book-by-it's-cover that I love and has many reviews on books with great illustrations. Recently they posted a review on a book called Fully Booked. It is a compilation of several publications and speaks about the concept and design of books, an "ode to the new face of printed goods". It has some interesting details like the colour from within the book resembling the light coming out of a computer screen. Here are some photos and the link to the full article.

Molho de salsa e amêndoa ::: Parsley and almond sauce

13.1.14
Hoje trago a receita de um molho que experimentei esta semana para "animar" o sabor dos cuscus. É um molho muito versátil pois pode condimentar cuscus, massa, saladas...servir um pouco deste molho em cima de um bife grelhado, misturar com uns cubinhos de queijo e servir de entrada...enfim inúmeras possibilidades. Neste caso optei por utilizar salsa mas os coentros também são uma boa opção para quem gosta (e eu adoro!).

MolhoPiso MolhoPiso2 MolhoPiso3
Ingredientes
1 ou 2 dentes de alho (conforme o gosto pretendido no final com sabor do alho mais ou menos intenso)
60g amêndoa
30g salsa (cerca de metade de um molhinho)
120g de azeite
Sal q.b.

Numa picador juntar o alho, amêndoas, salsa e o sal. Picar bem e posteriormente ir adicionando o azeite aos pouco e picando novamente.

MolhoPiso4
:::

Today I bring you the recipe of a sauce I made to add flavour to a cuscus salad. It's a very versatile sauce because it can be used with cuscus, pasta, salads, on top of a grilled stake, mixing with some cheese cubes...inumerous options possible. In this case I used parsley but you can use coriander (which I adore).

Ingredients
1 or 2 garlic (depending on the final garlic flavour you prefer, more or less intense)
60g almonds
30g parsley
120g good quality olive oil
salt as needed

In a mincer add the garlic, almonds, parsley and salt and mince. Then add the olive oil small portion at a time and mince.

O começo ::: The beginning

10.1.14
E com a ajuda, sensibilidade, trabalho e talento da Sílvia  nasceu este meu cantinho. Obrigada!

Espreitem em: http://www.mudadepagina.com/2014/01/muda-de-blog-i-want-to-bake-free.html


:::
With the help, sensibility, work and talet of Sílvia this blog began. Thank you!

Take a look: http://www.mudadepagina.com/2014/01/muda-de-blog-i-want-to-bake-free.html


Da cor das flores. ::: From the colour of flowers

9.1.14
Hoje sinto-me da cor destas flores. São margaridas, flores do campo num laranja dourado. Adoro flores do campo são as que mais me tocam, as que me fazem sorrir de imediato e ter uma sensação de alegria inexplicável. Sem dúvida a vivência que tive na aldeia dos meus avós, onde cheguei a viver 1 ano, é algo muito meu e que me fez ter este gosto pela natureza e pelo que ela dá em cada sítio próprio...cada lugar tem a sua espécie e são essas as mais bonitas pois são as mais felizes.
E assim desta cor laranja vivo me sinto hoje e vos desejo dias inspiradores!

Margaridas laranja :::

Today I feel like the colour of these daisies, bright and golden orange. I love country flowers, they are definitely the ones that make me smile and make me feel joy in an unexplicable way. No dought living and going many times to my grandparents small village made me who I am today, loving nature and what it gives in each specific habitat...each place has it's one species and those are the most beautiful because they are happy in their environment, in their home.
And in this bright orange colour I feel today and wish you all a beautiful and inspiring days to come!

Doces de final de ano ::: Desserts of the last 2013 day

7.1.14
No final do ano optei for fazer duas sobremesas para o jantar. O arroz doce que já falei aqui e o pão de ló da D. Natércia. Esta última receita foi dada na televisão no programa da manhã e foi a D. Natércia a própria a divulgar este pão de ló delicioso e fica mesmo húmido no centro, crocante por cima e a restante massa muito fofa e leve. A foto não faz justiça a este bolo mas em pouco tempo despareceu e já não consegui tirar uma foto a uma fatia a escorrer aquela massa amarelinha e tão boa de um pão de ló.

Ingredientes
500g açúcar
12 gemas
8 claras
150g farinha
sumo 1 limão
1 colher chá de fermento
1 pitada de sal

Juntar açúcar e gemas e bater durante 20 minutos. Depois juntar sumo de limão e as claras em castelo e mexer gentilmente. No fim juntar a farinha aos poucos e envolver com uma colher de pau. Forno 180ºC, 30 minutos, forma sem buraco untada com manteiga e farinha. Utilizei uma forma de 28cm de diâmetro.

Pão de ló Pão de ló2

:::
In the last 2013 dinner I've decided to make two desserts. Sweet rice which I already spoke about and the other a sponge cake. To exact D. Natércia spong cake. This recipe was given by D. Natércia at a TV show that turned out to really be good, very moist in the center, crispy on top and the pastry is very light and fluffy. The photos are not good enough but the cake was eaten fast and nothing was left to take a picture of a slice...

Ingredients
500g sugar
12 egg yolks
8 egg whites
150g flour
1 lemon juice
1 tbs baking powder
1 pinch of salt

Add the egg yolks with the sugar and mix really well for a long time, 20 minuts at least. Then add the lemon juice, the egg whites (wisked previously) and mix gently with a spatula. Then add the flour and baking powder litle by litle and mixing gently with the spatula. This is to keep the pastry really airy and fluffy. Use a circular tin  with no hole(28cm) and in the ove it goes for about 30min (180ºC and the tin should be with butter and flour.

Em dias cinzentos... ::: In gray days...

5.1.14
..livros a preto e branco!

Folheei este livro inúmeras vezes nas livrarias e só hoje o trouxe para casa. O Livro do Ano de Afonso Cruz, editora Objectiva. Frases simples, com muito sentido, com verdade, com astúcia e com sensação de nunca tinha pensado nisto assim mas é bem pensado. Outras coisas sem nexo para mim, mas farão sentido a outro alguém. E é daqueles livros para serem roubados de vez em quando à estante e mesmo a preto e branco é tão cheio de cor.


Livro do Ano Frase

Livro Frase2
:::

..black and white books.

I read this book briefly when visiting bookstores but only today I bought it. "Livro do Ano" from Afonso Cruz, published by Objectiva. Simple sentences, meaningful, thuthful and with that feeling never thought of it this way but it makes sense. Other things not so meaningful to me but certainly to others. It is one of those books to steel from the bookshelf once in a while and despite being black and white it is full of colour.

"Old photos resemble a lot to us when we were kids"
"The best to warm your body is a fireplace. But to warm your inner self the best is to read"

Torta de chocolate de Natal ::: Christmas chocolate swirl cake

2.1.14
Já é tradição na minha família fazer uma torta de Natal, quer seja um típico tronco de Natal quer seja uma torta de chocolate mais simples. Este ano quis fazer a torta e redimir-me da torta do ano anterior que ficou, vou ser honesta, nada de jeito.
Assim este ano pensei e resolvi fazer uma massa bem leve e fofa utilizando chocolate em pó e um recheio de queijo mascarpone e mais qualquer coisa para melhorar a textura e sabor. Resolvi mesmo inventar pois pensei que ficar pior que a do ano anterior era difícil :).  Resultado uma torta com um sabor muito bom e que deixava todos a querer repetir..e isto resume muito quando uma receita é de facto vencedora.

Experimentem e digam coisas de como correu e se gostaram!

Christmas swirl Christmas swirl2

Ingredientes
Massa
4 ovos
30g de farinha
100g de açúcar
50g de chocolate em pó
1/2 colher de chá fermento em pó
Recheio
400g queijo mascarpone
1 iogurte natural açucarado/ou de aroma de coco
1 ou 2 colheres de sopa a gosto de açúcar em pó
1 colher de café de extracto de baunilha
Cobertura
4 colheres de sopa de manteiga de culinária
50g de chocolate em pó

Preparar um tabuleiro quadrado com manteiga e papel vegetal (utilizei um tabuleiro de 30x30cm). Pré-aquecer o forno a 180/190ºC. Preparemos agora a massa juntando as gemas, o açúcar e uma colher de sopa de água mexendo bem até criar um creme esbranquiçado. Adicionar o chocolate, a farinha e o fermento. Bater claras em castelo e adicionar à massa de chocolate incorporando gentilmente com uma colher de pau. Colocar a massa no tabuleiro e levar ao forno 15 a 20 minutos no máximo. Estejam atentos para a massa não queimar. É natural que a massa "desabe" um pouco após sair do forno (não é bonita mas é a expressão certa quando a massa "cai" parece um desabamento :) ).
Deixar arrefecer um pouco e colocar em cima de um pano húmido e retirar o papel vegetal.

Numa tigela preparar o recheio misturando todos os ingredientes e adicionar mais ou menos açúcar conforme o gosto. Espalhar o recheio em cima da massa e enrolar. Por fim prepare a cobertura derretendo a manteiga e incorporando o chocolate e deixar verter em cima da torta. Fica giro o efeito do chocolate a escorregar aleatoriamente. Colocar no frigorífico e tentar não comer tudo de uma vez só.

Aliás já nem consegui tirar uma foto da torta inteira mas apenas de uma fatia :) e a luz não foi a melhor mas tive receio de não ter mais torta no dia seguinte.

:::
On Christmas my family is used to serve a chocolate cake swirl. Last year I made one using cream but the result was not very good and this year I've decided to create my own recipe and be more adventurous with the result. The pastry was made using chocolate powder to obtain a rich and fluffy texture and the filling I used mascarpone cheese and added a few more things you will see. 
And in the end it turned out a beautiful swirl cake, with an amazing flavour that everybody loved and wanted to repeat...and that's say's a lot if a recipe is a winner or not :).

Try this recipe and let me know how it went!

Ingredients
Dough
4 eggs
30g flour
100g sugar
50g chocolate powder
1/2 tsp of baking powder
Filling
400g mascarpone cheese
1 natural sweet yogurt or with coconut flavour
1 or 2 tbsp of icing sugar has you like
1/2 tbs of vanilla extract
Topping
4 tbsp of butter
50g chocolate powder

Prepare a tin (square 30x30 cm) with butter and parchment paper and preheat the oven at 180/190ºC. Now let's prepare the dough. Add the egg yolks, sugar and a tbsp of water and mix very well (6/8min). Add the chocolate, flour and baking powder and mix. Whisk the egg whites and add to the dough and blend them gently with a spatula. Pour in the tin and in the oven it goes for 15/20minutes maximum. Let it cool down and put the chocolate cake on top of a moist cloth. Take out the parchment paper.

In a bowl mix all the ingredients for the filling and mix well (add the quantity of icing sugar you would like). Spread the filling on the chocolate cake and roll it into a swirl shape. Finally melt the butter and the chocolate together (topping) and pour on the swirl. Into the fridge it goes and try not to eat it all at once :).

AddThis