Sensações de passagem de ano ::: New Year's Eve feelings

31.12.13
Por aqui um cheirinho muito doce a pão de ló invade a casa e a tradição do arroz doce que tanto adoro. Principalmente aquele ritual de colocar a canela por cima e que levava muito a sério em criança...e por breves momentos estava novamente na cozinha da minha avó a fazer os quadradinhos de canela nos imensos pratos e travessas de arroz doce e deixava sempre um dos mais pequenos para inventar um desenho qualquer.

Hoje fiz os quadradinhos e tenho todas essas boas memórias neste arroz doce.

Bom Ano a todos!

Canela
:::

Sweet rice

:::
A sweet smell of sponge cake invades our house and the traditional sweet rice that I adore is already made and displayed on the kitchen table. Sweet rice with cinnamon on top reminds me so much of my childhood and I'm again at my granny kitchen doing so many squares and leaving the small dishes for the criativity of other drawings with cinnamon.

Today I choose to do squares and this rice is full of beautiful memories.

Have a great year!


Natal ::: Christmas

30.12.13
O Natal passou e muitas horas passadas na cozinha, a fazer o que mais gosto. Com os miúdos em casa doentes não foi fácil mas no final os doces, a alegria e o amor da família compensaram os períodos menos bons. Dos vários doces que fiz apenas tirei fotografia à torta de chocolate que ficou a ser uma receita preferidas de todos, uma massa muito fofa e um recheio de mascarpone delicioso...e ficou uma torta muito bonita com uma cobertura de chocolate. Colocarei por estes dias a receita no blog..até lá fiquem a salivar :). Para além da torta fiz queijadas de Évora (a minha terra natal) a partir de uma receita de um livro antigo de receitas alentejanas da minha mãe e claro fiz rabanadas que foram comidas quentinhas logo no pequeno almoço do dia 24.

Espero que tenham tido um excelente Natal e a passagem de ano que aí vem seja divertida, alegre e com boas resoluções para o ano seguinte.

Por aqui que em 2014 venham mais receitas, mais ilustrações, mais projectos e claro sempre muita alegria!

:::
Christmas has passed and I had many hours in the kitchen doing what I like. Although it wasn't easy with the kids sick for some days in the end all the sugar sweets, the joy and the love of the family made everything better. Of the several recipes I made I took a picture only of one. It was the chocolate swirl with mascarpone filling. I will post this recipe in the following days. It has become one of my favourite recipes and everyone enjoyed it so much.

I hope you all had a great Christmas and the New Year Eve that is near to be very cheerful, fun and with great ideas and projects for the next year.

In iwantobakefree 2014 with more recipes, illustrations, projects and always having fun with it!

Bolo de manteiga de amendoim ::: Peanut butter cake heaven :)

19.12.13
Eu adoro manteiga de amendoim. Descobri esta delícia na minha adolescência e utilizei bastante em sandes mas muitas vezes comia às colheres...sim era o meu guilty pleasure. Deixei de comprar durante algum tempo mas com os miúdos mais crescidos decidi voltar a comprar para ver se eles gostavam e nenhum deles gostou....NENHUM gostou...como é possível? :). E assim fiquei com um frasco de manteiga de amendoim no frigorífico e bastante solitário. Mas por pouco tempo, decidi fazer um bolo de manteiga de amendoim e com uma cobertura crumble. E não é que assim eles já gostaram? Para comer fresquinho e em pequenas quantidades de cada vez...seus gulosos! :)

MASSA:::DOUGH
PB1

CRUMBLE
PB2
PB3

PB4

Ingredientes
Massa
100 gr de açúcar amarelo
180 gr manteiga de amendoim
4 ovos
100 gr de farinha
1 colher de chá de fermento em pó

Crumble
1 chávena de farinha
1 chávena de açúcar amarelo
60 gr amendoim picado
100 gr de chocolate negro
80 gr de manteiga derretida

Pré-aquecer o forno a 180ºC e preparar a forma com manteiga e papel vegetal. Numa tigela misturar o açúcar e os ovos. Adicionar a manteiga de amendoim, depois a farinha e o fermento. A massa fica bastante densa. Colocar na forma que vai ao forno.
Preparar o crumble misturando bem todos os ingredientes utilizando as mãos e até obter uma massa areada. Colocar o crumble em cima da massa.
Vai ao forno cerca de 30/35 minutos. Arrefecer bem o bolo e só depois comer. Fica muito bom fresquinho do frigorífico.
:::
I'm a fan of peanut butter. In my teens I discovered it and used it a lot on sandwiches and many times I ate spoons of it, it was my guilty pleasure. The years have passed and I ate less. But then with my kids growing up I decided to buy peanut butter again for them to try but no one liked it...really NO ONE liked it...and so I was again left with one jar just for me to indulge in it's sticky texture and intense peanut flavour. 
The peanut butter jar was in the fridge feeling miserable so I decided to use it in a cake. A crumble cake to be exact, a moisty pastry base and a crumble crunchy top. It's a great cake for peanut butter lovers and I was so happy with it.

Ingredients
Dough
100gr yellow sugar
4 eggs
180 gr peanut butter
100 gr flour
1 tbs of baking powder
Crumble
1 cup of flour
1 cup of yellow sugar
60 gr chopped peanuts
100 gr of chopped dark chocolate
80 gr of melted butter

Preheat the oven at 180ºC and prepare your tin with butter and parchment paper. In a bowl mix the sugar, eggs, peanut butter and mix very well. Then add the flour and baking powder. The dough will be quite thick. In another bowl prepare the crumble mixing the sugar, flour, melted butter, peanuts and chocolate chips. Get your hands sweet and dirty and mix until you have a crumble texture.
Pour the dough on your baking tin and on  top your crunchy crumble. In the oven it goes for about 35min. Cool the cake and eat in small doses :).
Enjoy your peanut butter guilty pleasure!


Fazer base para copos ::: Coasters Tutorial

18.12.13
Eu própria sou uma fã de passo-a-passo em projectos de costura que me dão ideias para utilizar os tecidos que tenho lá em casa e dedicar-me a projectos que me permitem descontrair...para mim cozer na máquina de costura é bastante relaxante e adoro ver as peças a tomarem forma e a concretizar projectos para mim, para meus rapazes, para a casa ou para oferecer.
Estas bases de copos já andavam na minha ideia para fazer à algum tempo e decidi agora fazer para oferecer no Natal a alguém muito especial para mim e que sei que valoriza este tipo de trabalho.
Algumas notas adicionais:
- a entretela que utilizei é fina e colante de apenas um dos lados. Utilizá-la é opcional, embora utilizei para dar um pouco mais de estrutura e fixar melhor o tecido na zona do ziguezague.
- será necessário um lápis ou um marcador de água que sai facilmente com um pano húmido.
- se não tiverem máquina de costura podem cozer à mão com pontos mais largos que também ficam muito bem.

Vamos começar?

CoasterENG1
Após cortar todos os tecidos e ter os materiais prontos unimos o verso do nosso tecido com o lado colante da entretela (p lado mais brilhante) e pressionamos com o ferro bem quente até a entretela ficar bem colada ao tecido. Depois marcar com o molde o coração no tecido.
Coasters1

Juntar ao tecido-entretela o feltro e alfinetar. Cozer a toda a volta seguindo o contorno deo coração. Por fim cortar com a tesoura ziguezague a cerca de 1,5 cm da costura. E já está!
Coasters2

Coasters3

:::
I'm a big fan of sewing tutorials and when I have time I cruise around my books and online to inspire me to use the fabrics I have at home. Sewing for me is quite relaxing and I adore seeing something being made, all the steps until it's finished.
These coasters were on my mind to make for quite some time and now with Christmas I've decided to make them and offer to a special person that I know like handmade things.

Some additional tips:
- the interlining I used only glues from one side .It's up to you if you use it or not but I recomend for firming the coaster and keep the edges of the fabric.
- you will need a pencil or a washable fabric pen.
- if you don't have a sewing machine you can sew by hand with large stitches and it will be equally fine.

Let's get started!

CoasterENG1 After cutting and gather all the materials necessary we unite the top fabric (the reverse side) to the interlining (the shining side) and with the iron press until the 2 layers are glued. Then mark the heart using the mold.

Coasters1

Pin the felt fabric to the previously gathered layers. Sew on the top of the heart line. Then with the scissors cut the excess fabric around the heart shape at 1,5 cm from the sewing line.

Coasters2

Primeiras costuras ::: First sewing tutorial

18.12.13
A preparar o próximo post, uma passo a passo de um projecto muito simples de costura. Para utilizar à mesa e que é uma excelente prenda de Natal. É só arranjar/comprar uns lindos tecidos e fazer. Aguardem mais um pouco...está quase aí!

Tutorial1 :::
Preparing the first sewing tutorial of my blog. Very excited to present to you a simple project to use at your dinner table and it is also great has a Christmas gift. Just gather/buy some beautiful fabrics and make it. Wait just a litlle more...first tutorial almost here!

Panquecas ao pequeno-almoço ::: Pancakes at breakfast

11.12.13
Pancakes1
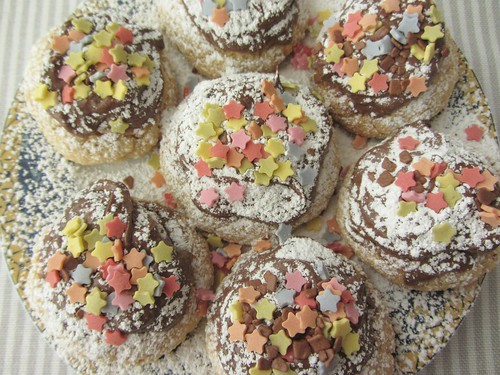
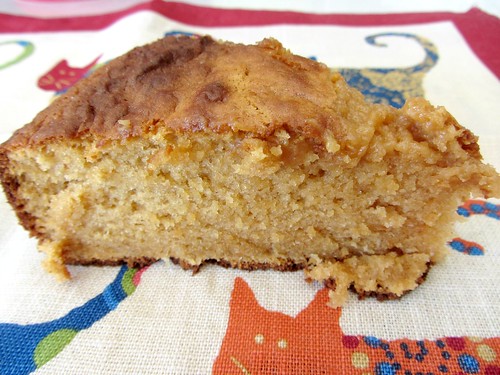
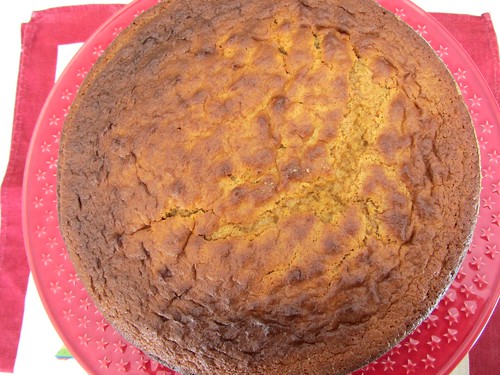
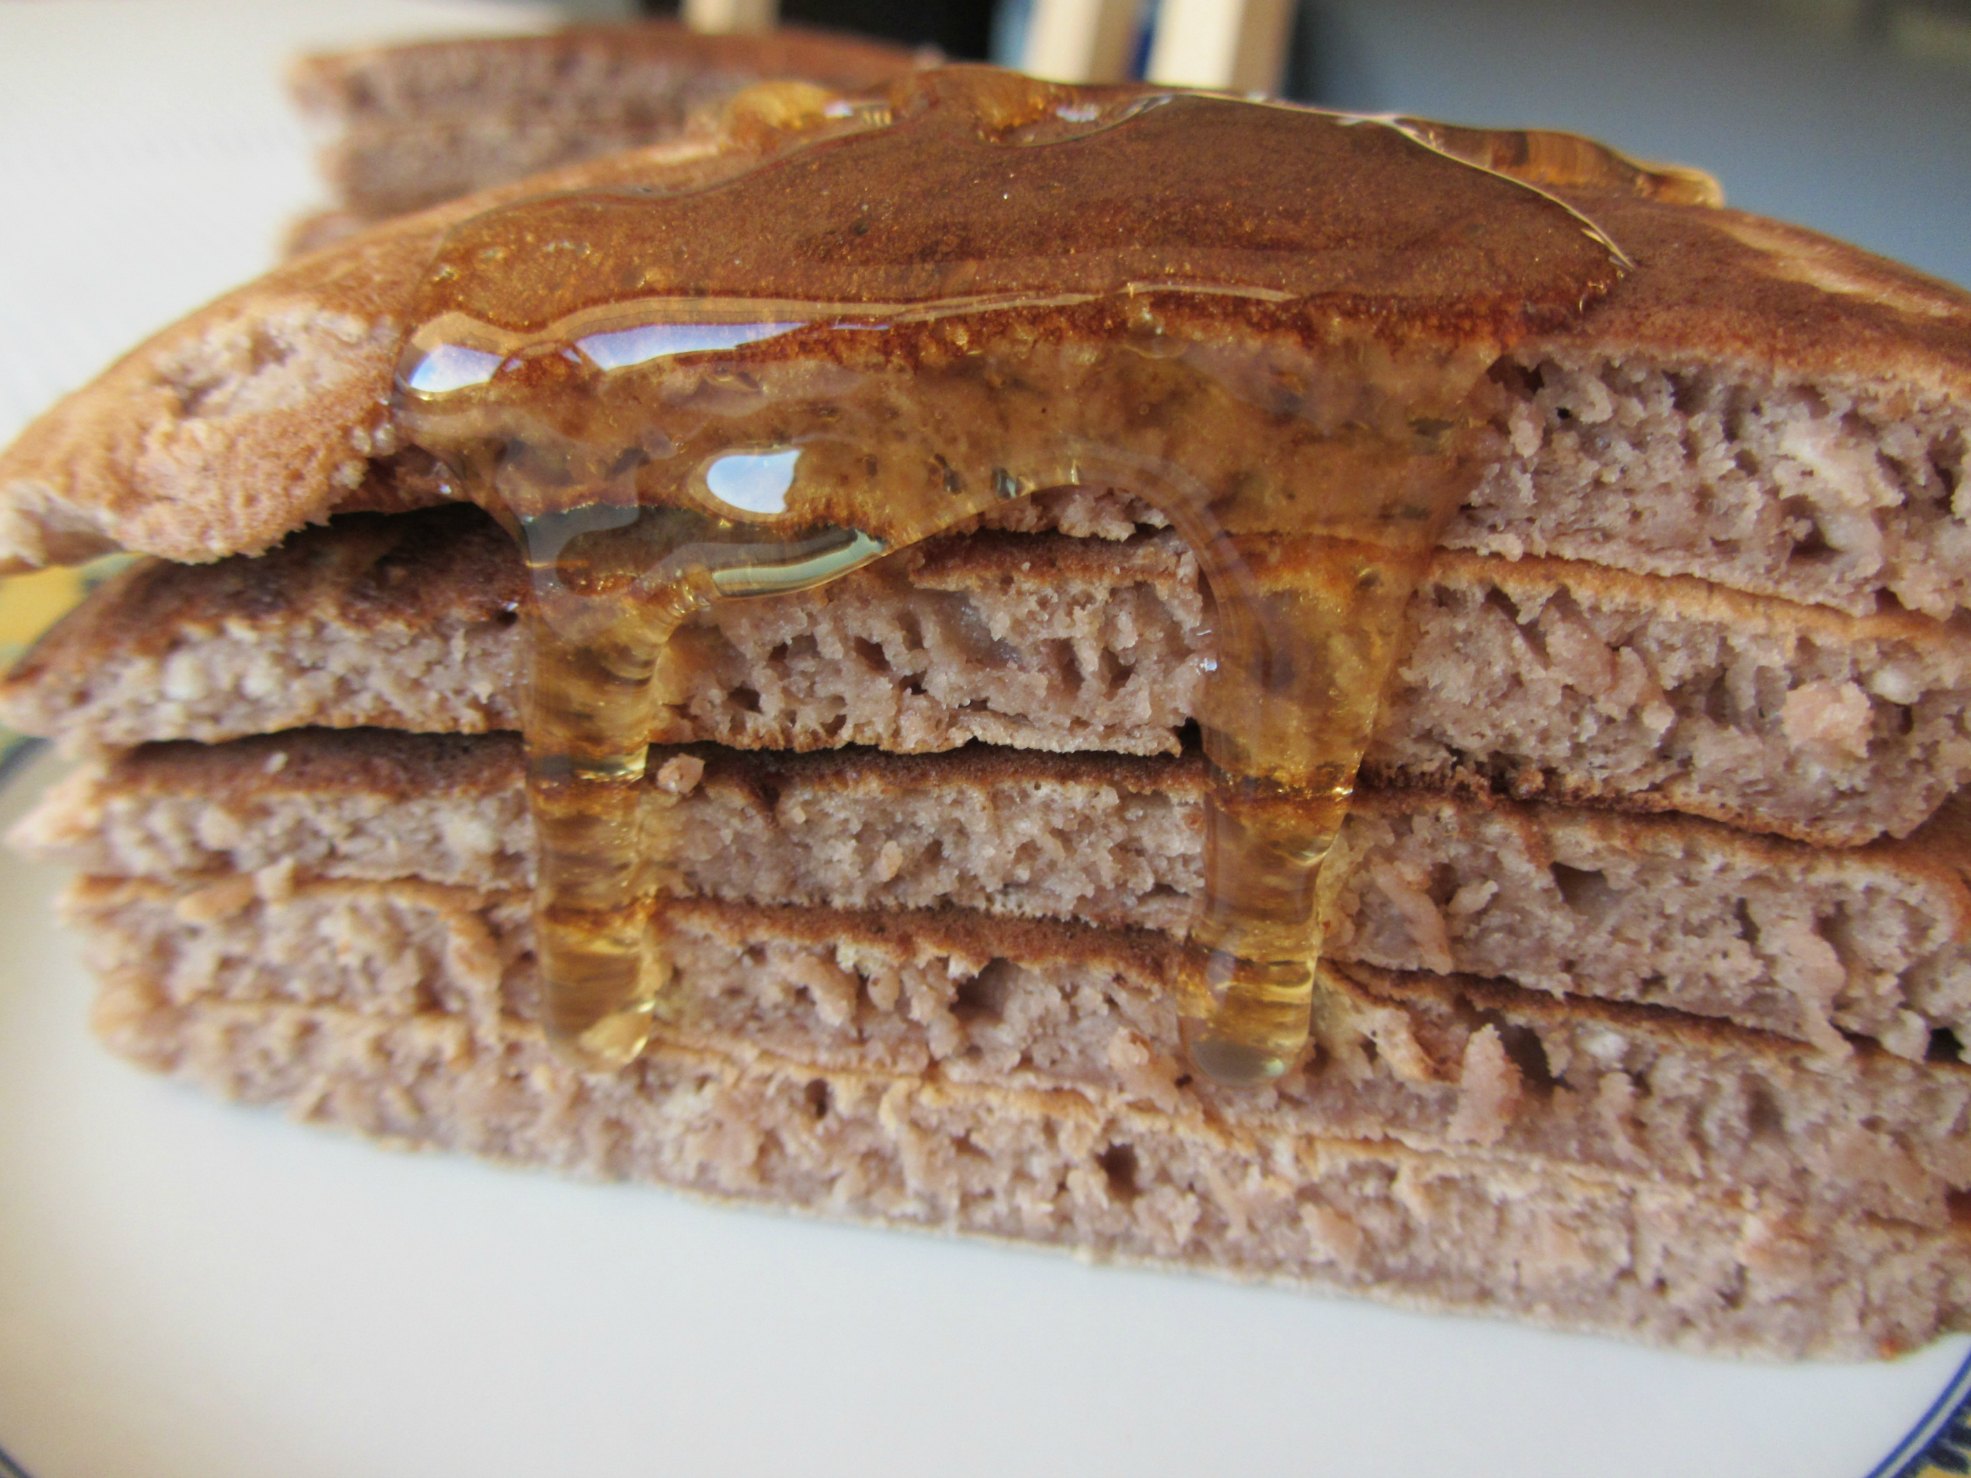
Hoje trago uma receita de panquecas que costumo fazer com alguma regularidade e que são muito apreciadas lá em casa. Sempre com coisas diferentes por cima como doces, iogurte, nutella, queijo, fiambre e o muito adorado mel! Desta vez experimentei adicionar chocolate em pó para ficar mais docinho e com um leve sabor a chocolate, mas é opcional face à receita base. Para chegar a esta receita fui experimentando até conseguir obter quantidades sem utilizar balanças. Rápido e fácil para manhãs preguiçosas do fim de semana.

Pancakes3
Ingredientes
2 chávenas de farinha
2 ovos
1 chávena de leite
1 colher sopa de manteiga
3/4 colheres de chocolate em pó (opcional)

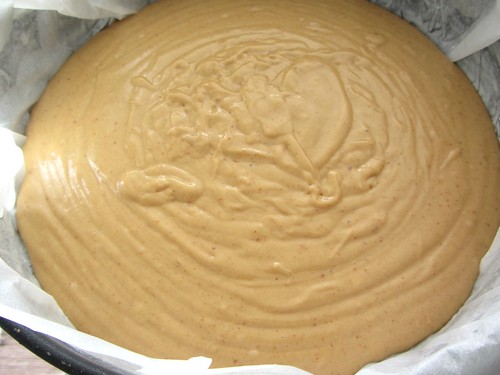
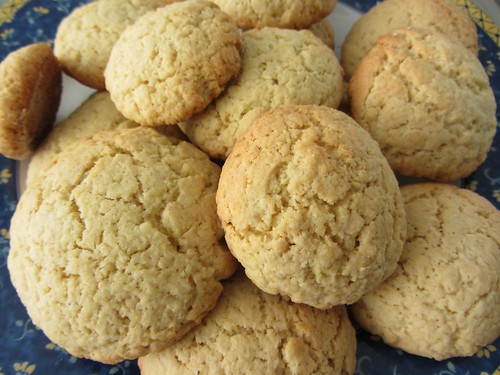
Misturar bem a farinha com os ovos e a manteiga. Ir adicionando o leite até obter a consistência desejada. Costumo deixar a massa bem espessa para conseguir panquecas mais redondinhas.
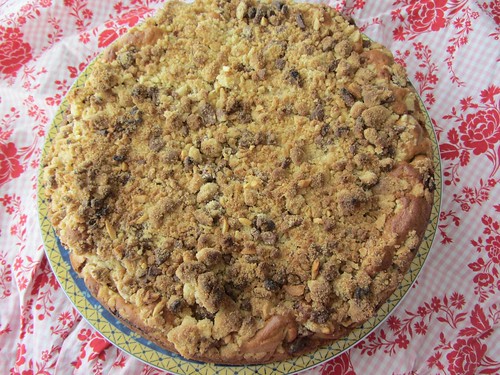
Agora é escolher o que colocar por cima e fazer um belo pequeno-almoço!


:::

Today I bring you a simple pancake recipe I often do. They are very much appreciated at home and the fun of it is to combine with so many different toppings like yoghurt, nutella, cheese, ham, jam and the favourite of all, honey! This time I decided to add some chocolate powder and it turned out good but it is optional and if you stay with the original non chocolate recipe will turn into beautiful yellowish pancakes :). I love this recipe, I tried several times until I got this fast option with no weighting necessary! For laisy weekend mornings.

Ingredients
2 cups of flour
2 eggs
1 cup of milk
1 tbsp of melted butter
3/4 tbsp chocolate powder (optional)

Mix the flour, eggs and butter. Add the milk slowly until the dough is in the consistency you prefer. I like it dense so I can make it more rounder in the frying pan. Add the chocolate powder if you like.. Know it's time to have fun and choose your favourite topping.

Before they pass away - Jimmy Nelson

11.12.13
O fotógrafo Jimmy Nelson abraçou um projecto muito belo, indo ao encontro das últimas tribos existentes por todo o mundo, descobrindo a sua essência enquanto seres humanos que vivem em locais remotos e muito distantes da realidade da maioria de nós. "A pureza do ser humano existe, está nas montanhas, nos locais mais gelados, na selva e nos vales". Jimmy Nelson encontrou estas pessoas, tentou entendê-los e trazer um pouco a sua experiência documentada com fotos lindíssimas. Lendo mais sobre este projecto e vendo a conferência Tedx fiquei estarrecida a observá-las, aquelas paisagens e aquelas expressões, a forma de viver de forma crua e em plena sintonia com a natureza e onde sentem "visceralmente" o que os faz felizes.

Existe um livro documentário desta experiência, livro que gostaria de ter um dia. Observar fotografias quer sejam paisagens, retratos ou locais de outros tempos...perder-me nessas fotos, viajar nelas e na sua mensagem sempre foi das minhas sensações preferidas. Ficam aqui uma pequena amostra deste magnífico documentário fotográfico.


:::
 Jimmy Nelson is an english photographer that has started such a beautiful journey, seeking for the last tribesmen around the world and discover them in their unique humanity. "The purity of humanity  exists, it is there in the mountains, in the ice fields, in the jungle and in the valleys". Jimmy Nelson found them, connected with them and brought to us his experience and his photos. By reading about his project and seeing his Tedx conference I was blowned away by those photos, those expressions, that way of living. Giving yourself to your environment and like Jimmy says feeling truly what makes you happy in those isolated places.

With this journey comes a book that I want very much to have. Like other photobooks I have at home I always loose myself looking at pictures, either nature landscapes, portraits, scenes from a different decade. Gazzing at photos always makes me think and travel with them. It is one of my favourite feelings...be lost in a photo and connect with what it has to say...And before they pass away we all should see them and learn from them. It is raw and unique humanity.

Bolachas de Natal para dias frios ::: Christmas cookies for cold days

10.12.13
Dias passados no quentinho da casa merecem umas bolachinhas caseiras que de tão boas aquecem-nos o coração. Para ir comendo ao longo dia...são muito gulosas por isso cuidado!

CCokies1

CCookies2

E porque estamos no Natal divirtam-se a decorar estas bolachas. Neste caso optei por utilizar cobertura de chocolate, açúcar de pasteleiro e umas decorações de chocolate e açúcar em forma de estrelas.

CCookies3

CCookies5

CCookies4

Ingredientes
1 chávena de azeite
3 ovos
2 laranjas
500 gr de farinha
1 chávena de açúcar
1 colher de chá de fermento

Ferver o azeite com casca de meia laranja. Enquanto deixa arrefecer ligeiramente mistura a farinha com fermento, ovos, açúcar, raspa de meia laranja e sumo de 1 laranja. Adicionar o azeite ainda morno e misturar com as mãos até obter uma bola. Deixar repousar cerca de 1 hora.
Formar bolinhas e achatar ligeiramente. Levar a forno médio (180ºC) cerca de 10 min e até ficarem ligeiramente tostadas por cima.

Aproveitei esta receita e partilhei no blog Cravo e Canela no desafio "vamos fazer bolachas de Dezembro": http://cravoecanela-umacozinhanosbrasil.blogspot.pt/2013/12/vamos-fazer-bolachas-dezembro-2013.html#comment-form
:::
Very cold outside. We spent the day at home keeping warm and eating home made cookies. To eat throught out the day but be carefull because they are too delicious to resist.

Ingredients
1 cup of olive oil
3 eggs
2 oranges
500gr flour
1 cup of sugar
1 tbsp baking powder

Preheat the oven at 180ºC. In a pan put the olive oil and peel half an orange and add to the pan. Boil the olive oil for 1/2min. Leave the olive oil to cool a litlle and in a bowl mix the flour, baking powder, eggs, sugar, he juice of an orange and the orange zest (of the other half). Add the warm olive oil and mix with your hands until the dought is mixed and form a ball. Leave the dough to rest for an hour.
Prepare the cookies like mini balls and slighlty press on top to form a cookie shape. In the oven it goes for aout 10min and until the surface is slightly toasted.

Have fun decorating the cookies. I used chocolate, icing sugar and decorative stars.

Primeiras ilustrações ::: Illustration, the first ones

9.12.13
A caminho de entregar esta ilustração para um concurso. Com poucas expectativas de ser seleccionada mas imensamente feliz por ter concretizado este gosto. E que bem que sabe!

First illustration
:::
On the way to deliver one of my first illustrations. Low expectations of being selected but very very happy to have accomplished it. Feeling good!

Bolo dourado ::: Golden cake

4.12.13
Esta é a minha primeira receita totalmente inventada por mim e estou muito feliz por isso. É bom adquirirmos confiança e experimentarmos. Foi a primeira tentativa e correu bem, desta vez. Bem sei que muitas mais irão acontecer em que não será à primeira que fica bom!

Goldencake2
Este bolo é muito bonito, fica com uma cor linda (tal e qual aparece na foto), tem um aroma muito docinho e é húmido no interior, um pouco até "mal cozido" para quem gostar. Irei fazê-lo mais vezes até porque lá em casa muitos sorrisos enquanto saboreavam este bolo dourado.

Goldencake1
Ingredientes
150 gr açúcar amarelo
5 ovos (médios)
1 lata de leite condensado cozido (+- 400gr)
50 ml leite
80gr manteiga derretida
200 gr farinha
1 colher de chá mal cheia de fermento
4/5 colheres de sopa de coco ralado

Pré-aquecer o forno a 180ºC e preparar uma forma circular de 22cm com manteiga e farinha. Separar a gemas das claras e mexer as claras em castelo. Noutra taça misturar bem o açúcar e as gemas. Adicionar o leite condesando e misturar. Depois adicionar o leite e manteiga alternadamente e misturando sempre. Adicionar farinha, fermento e coco ralado. Misturar bem. Por fim, e utilizando uma colher de pau, incorporar a claras em castelo. Vai ao forno cerca de 30-35min para ficar bem húmido. Começei a verificar o bolo a partir dos 30min.

Espero que gostem e sorriam muito!
:::

This is my first invented recipe ever, so it is a special post for me! And happy I am because it was a first try and it worked really well. It will not always be like this, I know, but horray to me! :)

This cake has a gourgeous colour, great smell and it is moisty moisty in the interior. It is easy, fast and you won't forget it. I will do it often...at home there were big smiles eating the golden slices.

Ingredients
150 gr yellow sugar
5 medium eggs
1 can of boiled condensed milk (+- 400gr)
50 ml milk
80gr of butter
200 gr flour
1tbs baking powder
4/5 tbsp grated coconut

Preheat the oven at 180ºC and prepare a circular 22cm tin with butter and flour. Separate the egg whites and wisk them until soften. In another bowl mix the yellow sugar with the egg yolks, mix well. Add the condensed milk and mix. The add the milk and the melted butter, alternate between these 2 ingredients mixing at the same time. Finally ad the flour and baking powder and the coconut and mix. Add to the pastry the egg whites and blend them gently with a spatula. Pour in the tin and in the oven it goes for 30/35minutes to be moist. If you keep more minuts it will loose the moistness. I started to check the cake from 30minutes onward.

Enjoy...and smile!

Pato com laranja ::: Duck à l'orange

3.12.13
Lá por casa todos gostamos muito dos almoços de Domingo e quase sempre faço um assado. Pato assado é um dos preferidos e costumo utilizar as especiarias que tenho disponíveis e que ficam sempre bem. Mas desta vez decidi fazer o clássico pato com laranja. Dizem que é um dos pratos que todos os chefes devem saber fazer. É um clássico, com aromas e sabores maravilhosos que facilmente impressionam num almoço/jantar de família ou com amigos. E é bastante simples. Aqui fica a receita.

Ducklorange2 Ducklorange3

Ingredientes
Pato
4/5 laranjas
alho francês
cenouras
cebola
alho
salsa
cominhos (1 colher de chá)
folhas de louro
coentros em pó (1 colher de chá)
vinho branco ( 1 copo)
sal
vinagre
farinha

Ligar o forno a cerca de 180ºC. Preparar o pato com pequenos golpes na zona do peito e golpes mais profundos na zona das coxas (necessitam de mais calor para cozer bem). Numa taça misturar o sal com os cominhos e os coentros e espalhar pelo pato e colocar também no interior. Utilizar uma frigideira bem quente e colocar o pato. A gordura da pele irá derreter e iremos tostar o pato de ambos os lados selando os seus sabores e tornando a pele estaladiça. Retirar o pato e na gordura restante colocar a cebola, alho francês, cenouras, folha de loureiro, dentes de alho, sumo de uma laranja e deixar absorver os sabores durante 1/2 minutos. Adicionar o vinho branco e reduzir em lume bem quente mais 2/3 minutos. Retirar os legumes e colocar num tabuleiro de ir ao forno e colocar o pato em cima. Golpear uma laranja e colocar no interior do pato. Vai ao forno cerca de 1h30 e se necessário ir adicionando água (pouca de cada vez) e colocar um folha de alumínio em cima para manter o molho e a carne mais tenra.

Quando pronto vamos fazer um molho filtrando os legumes do tabuleiro. Aquecer o líquido numa panela e juntar mais sumo de laranja a gosto, vinagre e sal se desejarem. Adicionar farinha até engrossar. Utilizar algum molho para colocar em cima do pato e dos legumes e o restante servir numa molheira.

Delicioso!
:::

At home we are all fans of roasted duck. It is a very tender meat and the skin fat always taste very good without being too greasy. Usually I prepare it with normal seasoning, mixing the spices I have at hand and I know works in all roasted dishes. But when we think of duck the famous duck à l'orange comes to your mind and that was the choosen recipe for this Sunday lunch.
This is a traditional french dish and it is considered by many chefs one of the recipes all the chefs should know. It's a classic, with beautiful smells and flavours, really easy to impress when you have a dinner fest or gathering. And imagine, so simple to do. Let's start!

Ingredients
Duck
4/5 oranges
leek
carrots
onion
garlic
parsley
cumin (1tbs)
dried/powder coriander (1tbs)
bay leafs
white wine ( 1 cup)
salt
vinegar
flour

Preheat the oven at 180ºC. Prepare the duck by doing some cuts in the breast area and with deeper cuts in the tighs (they need more heat to be cooked). In a bowl mix the salt, dried coriander and cumins. Mix and spread with your hands in all duck skin and also some inside the duck. Now let's seal the meat. To do so heat a frying pan and put the duck. Do not add any fat  because the skin fat will melt and the duck will be beautifully golden in it's on fat. Do it in both sides. Take the duck out and in the remaining fat of the frying pan pour the onions, leek, carrots all chopped in slices. Add the bay leaves, some salt, garlic, juice of one orange and leave it for 1/2min to slighlty cook the vegetables and let them absorb the duck flavours. Add the white wine and reduce it (more 2/3min in high heat).

In a tray pour the vegetables and the duck on top. Do some holes in an orange and put it inside the duck. In the oven it goes for about 1h30. If necessary use some aluminium foil to cover the tray to maintain the juices and keep the meat moist. Add some water if necessary (but little at each time).

When ready filter the liquid and vegetables to a pan (vegetables go again to the tray). Heat the pan, add some more orange juice (has you like), some vinegar and flour to ticken the sauce. Add some of this sauce to the duck and vegetables tray and the rest serve in a saucer.

Enjoy!

AddThis